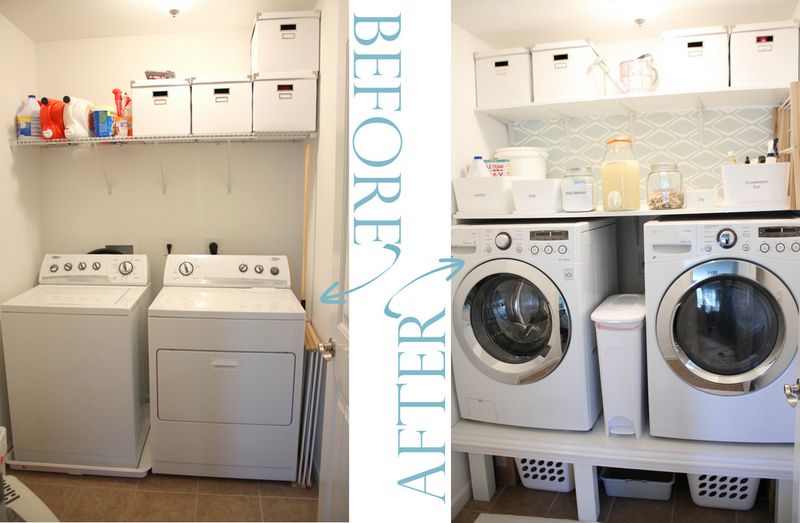
The time finally came to purchase a new washer and dryer.
I've been waiting and dreaming about this day for soooo long!!
So I got busy designing and my Mr. got busy woodworking and VOILA:
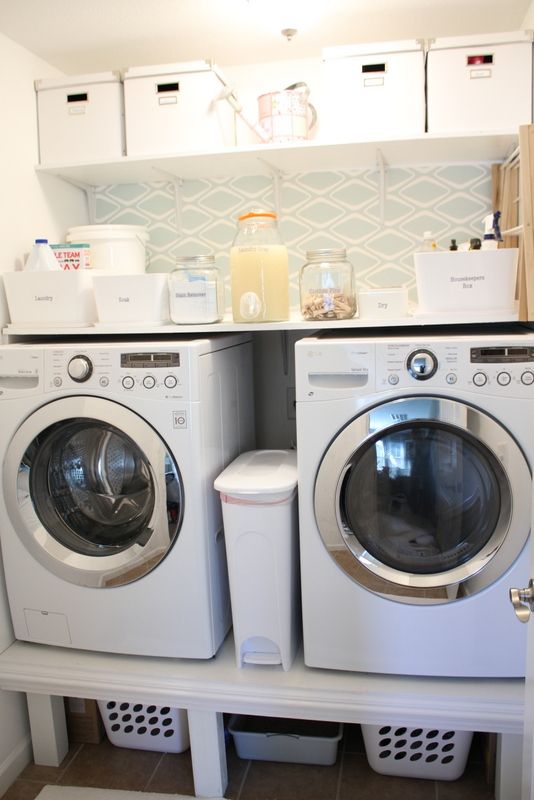
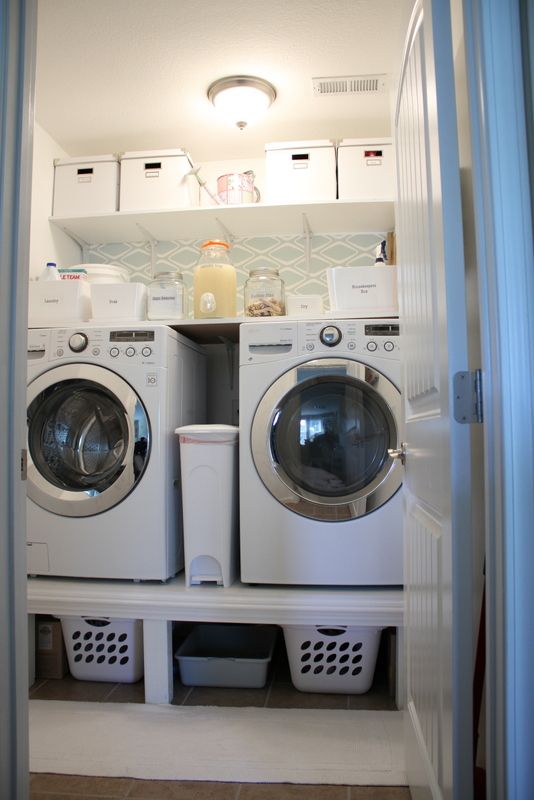
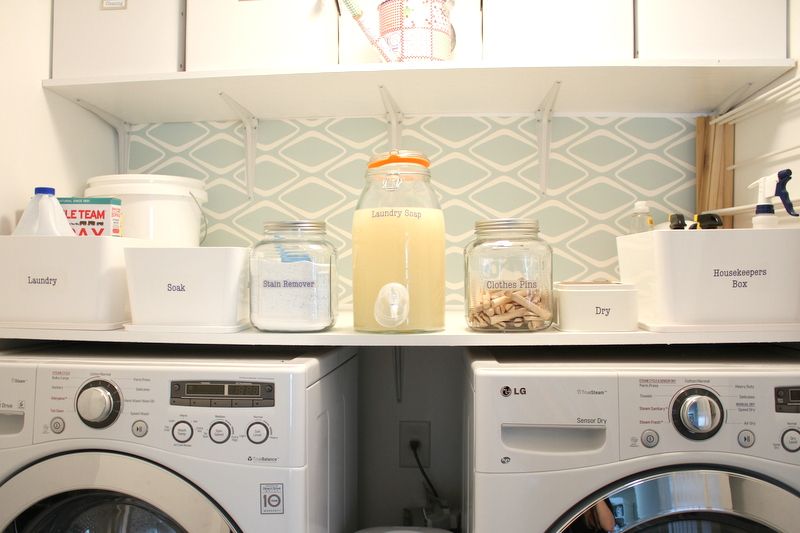
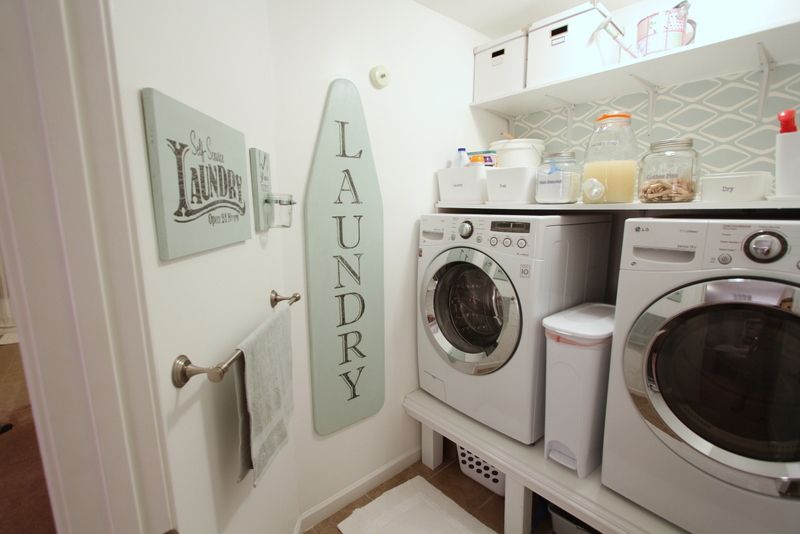
He made an amazing pedestal for them to sit on at the perfect height so I (and my back) don't have to bend over.
Underneath houses 2 laundry baskets and our kitty litter box (for Jones who loves the privacy of it),
and all of his extra kitty litter, scoop, etc.
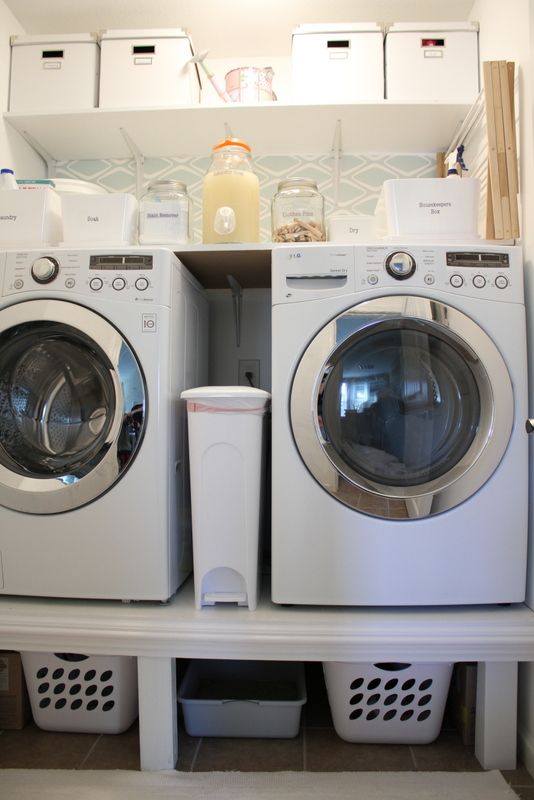
Mr. built me 2 wood shelves (not those horrible wire shelves) to go above to hold all the "stuff"
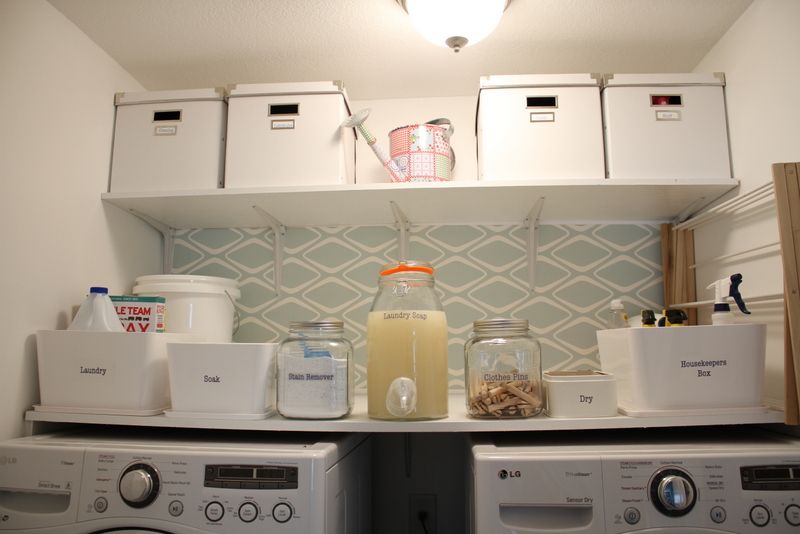
I jumped online to find everything I needed to organize it all.
The white storage boxes on the top shelf are from Ikea HERE.
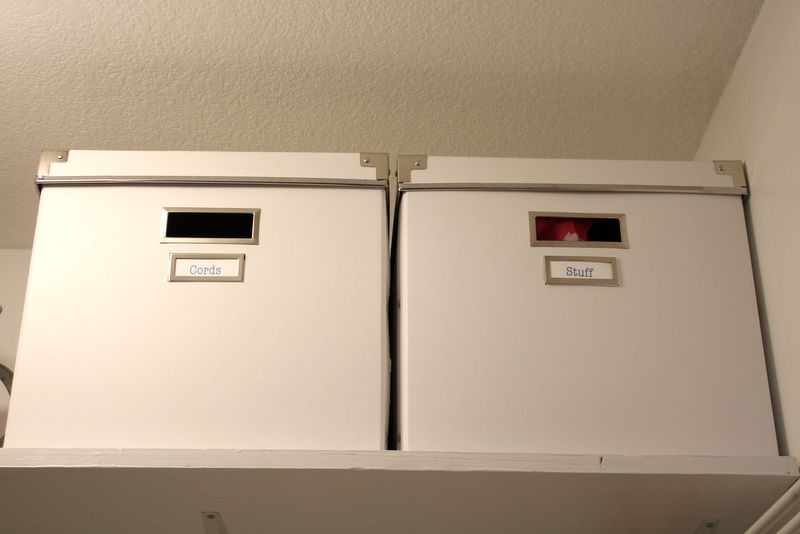
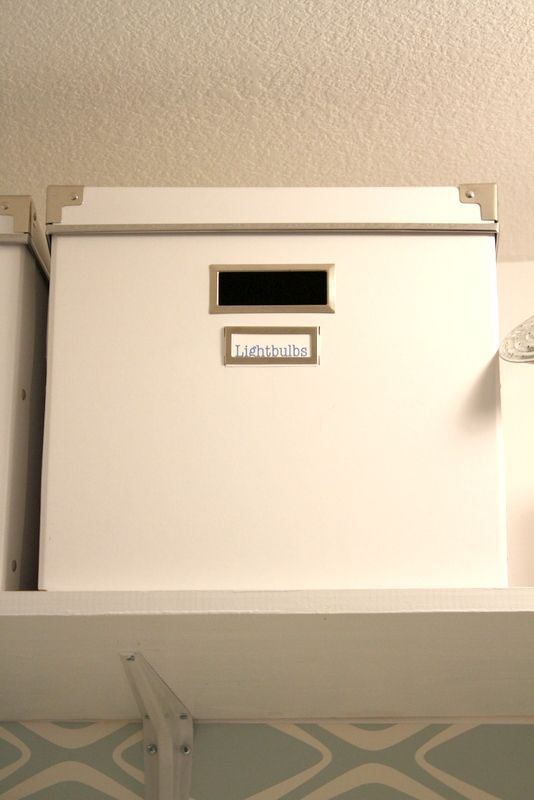
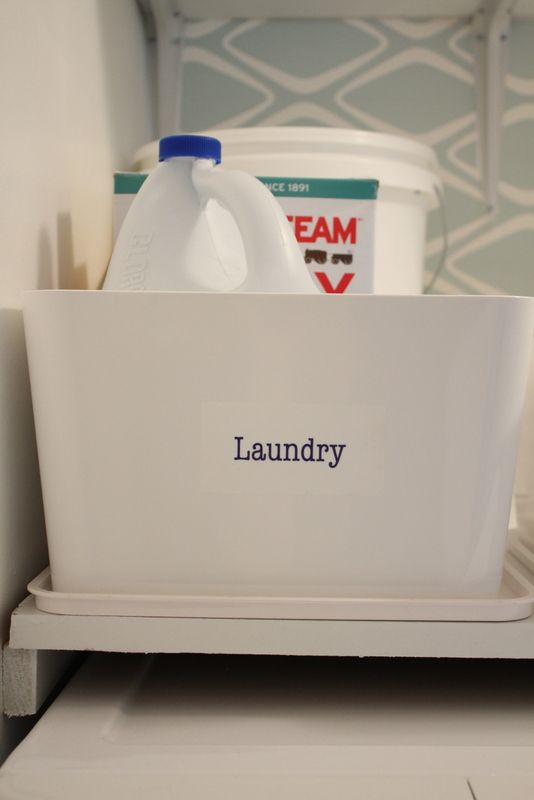
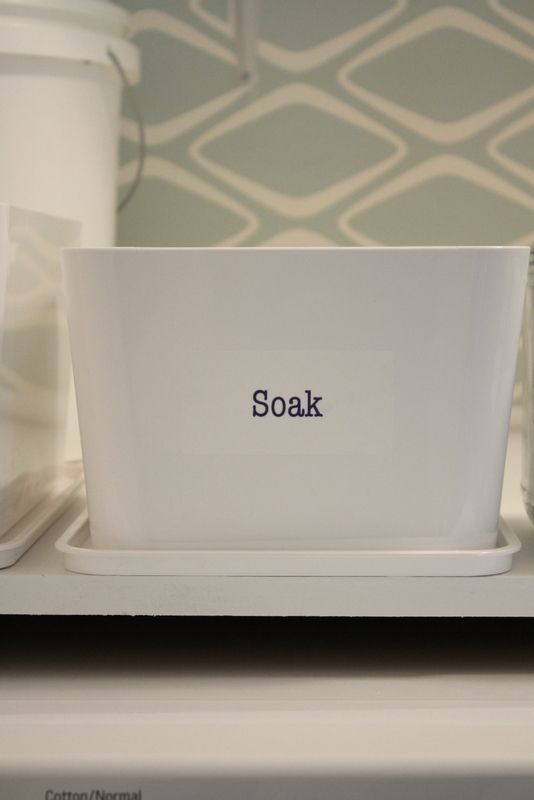
The bins I also got at Ikea HERE They come with a flat lid that I just placed underneath the bin. I seriously LOVE them!!
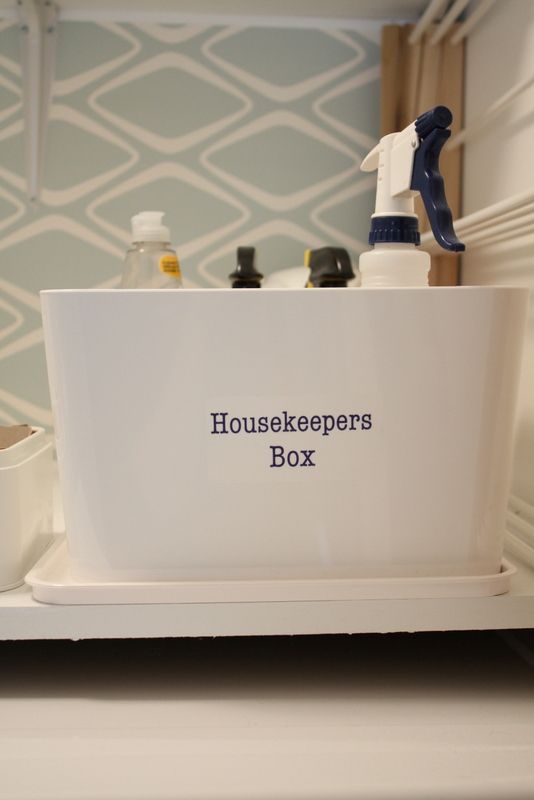
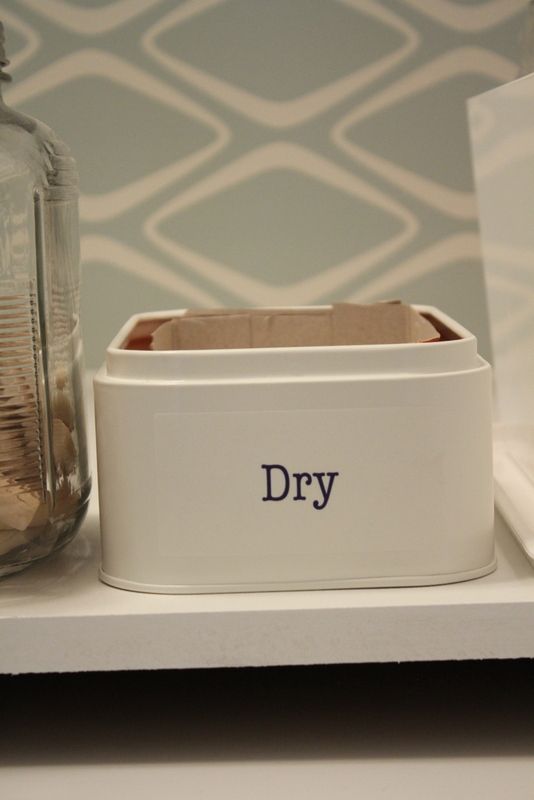
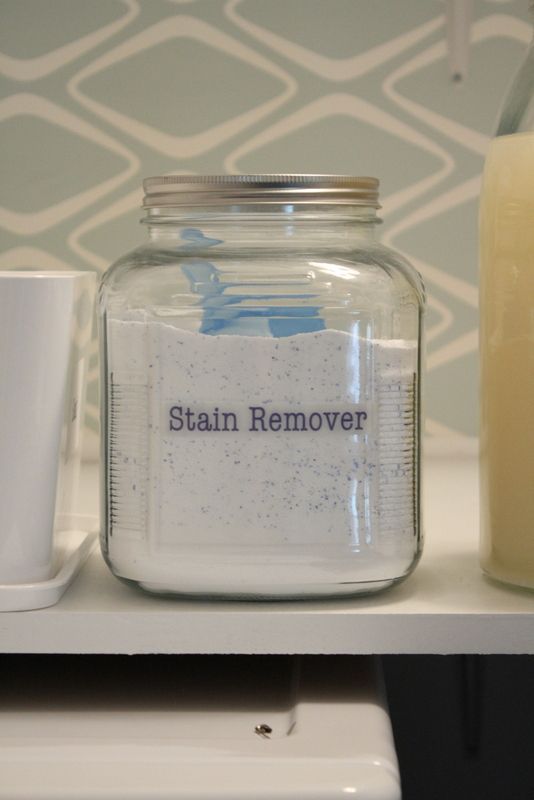
I added a label to each so it was easy to know what it was for.
I used Avery Clear shipping labels and printed them in navy blue.
"Housekeepers Box" (that's me btw): which holds handy things like a water spray bottle (for when I use the "stain remover" which is just oxyclean) goo-gone, resolve, a scrub brush and a vacuum attachment we only use when we vacuum the stairs… oh, and a small fire extinguisher because we're safety kids!
"Laundry": which holds all of my ingredients for my homemade laundry detergent, and of course my bleach.
and "Soak": which I use as a bucket to hold my pre-soak laundry with super tough stains i.e.. all of Connor's shirts.
The "Dry" box for my dryer sheets is a tin that came in a set that I found on my last Ikea run. I used the others in my craft room (which I will show next). This little one was left over and a perfect fit for the dryer sheet box.
The gallon jars I got at World Market for seriously $6.99 found HERE
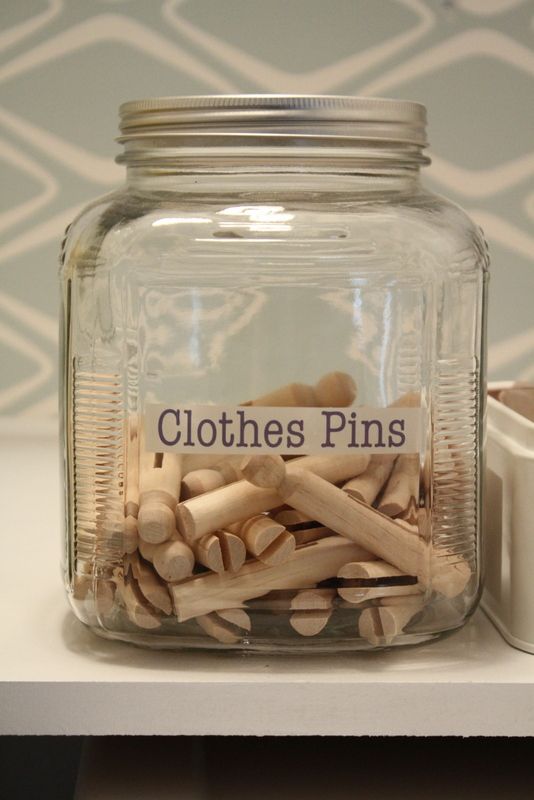
The clothes pins are for the clothes line I found (also at World Market HERE).
You can see it hanging in the pictures below by the ironing board sign
I found this great beverage dispenser that looks like an antique canning jar at World Market for $19.99 Here
I use it for my homemade laundry detergent that I LOVE!
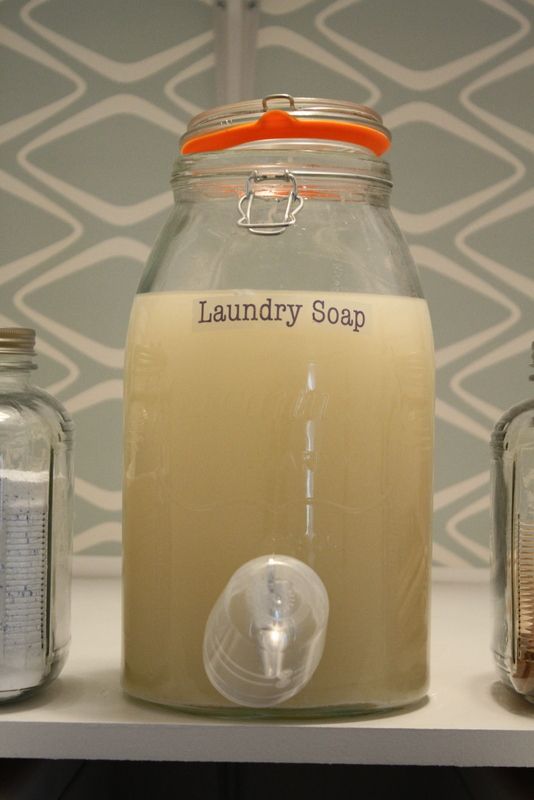
And a peel and stick wallpaper I used as an accent background that I found at Target Here and hung sideways so I didn't have to cut it and line it up 5 times. It was the perfect height! I love that!!
My favorite part is the artwork!
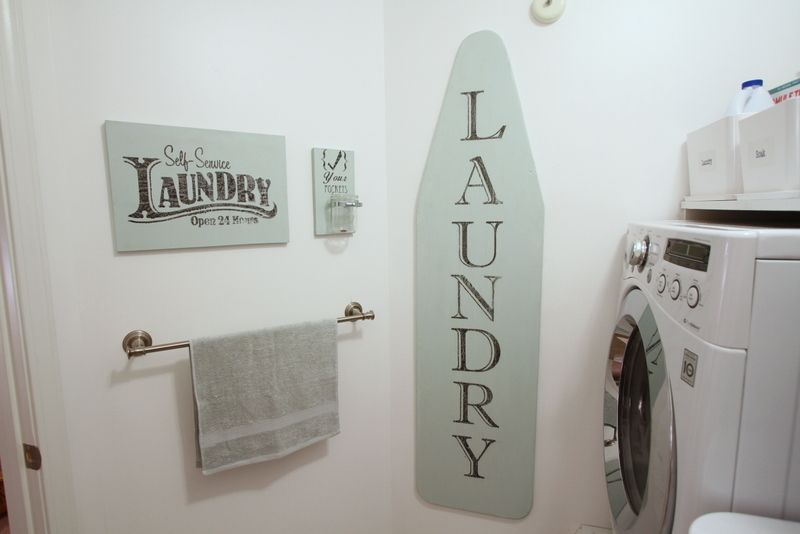
The signs the Mr. cut out and sanded for me in the various sizes and shapes I wanted.
Then I used coordinating paint (also found at Target with the peel and stick wallpaper).
Then I used THIS process to print the images on the wood, but used parchment paper (which I found smeared less) rather than wax paper.
LOVE the worn vintage look!!
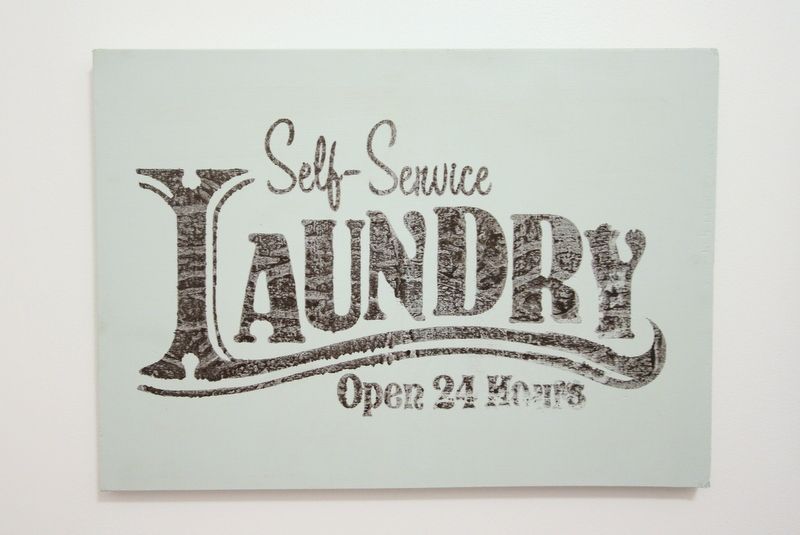
The "Laundry" sign was a free printable I found HERE
(This one and the "check your pockets sign", I printed using the wax paper. You can see how smeary it looks, and you can see all of the wrinkles from the wax paper. The parchment paper worked much better for me *as seen on the ironing board sign*)
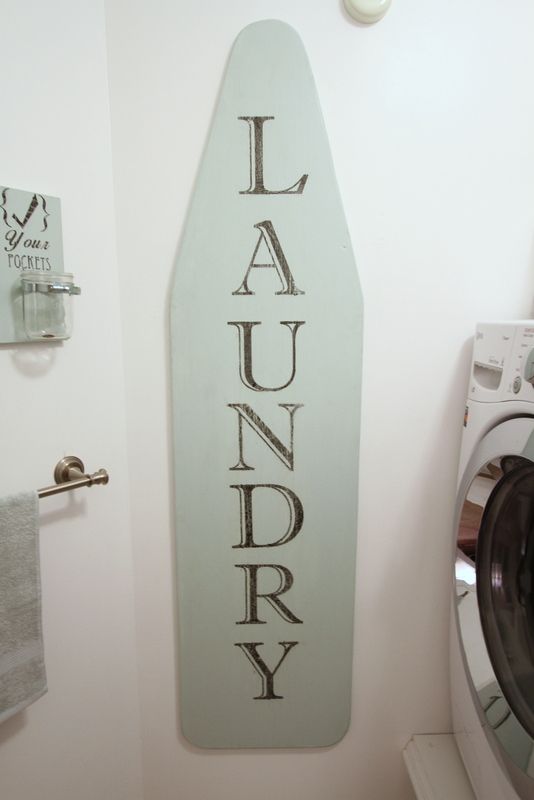
The ironing board sign we did using a shelf board we didn't need and laid down my existing ironing board, traced it, adjusted for the length I wanted it, cut it out, sanded, sanded more, sanded even more then painted. I printed one letter a time per page, and used the font "Imprint MT Shadow" (free font download HERE)
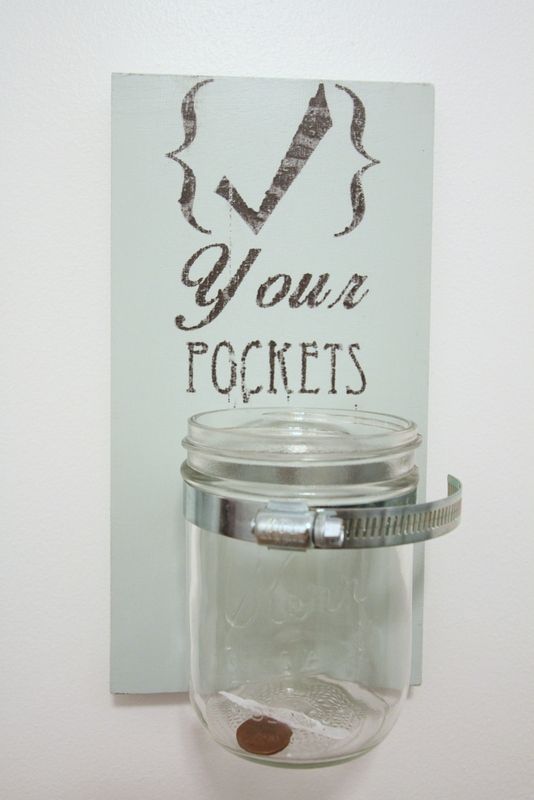
A jar and a dryer vent clamp completes this sign's functionality of capturing all of the fun treasures that show up in my washer.
Free download HERE
What you get:

**Just a reminder if you decide to make your own design for the signs, mirror your image before printing it!**
On Photoshop, go to Image> Image Rotation> Flip Canvas
And again, I found using parchment paper instead of wax paper smears the lettering less.
After I printed all the signs, I used Mod Podge matte finish sealer (found at any craft store, Walmart and Lowes) to seal the image on.
I added a towel bar to hold the small towel (in a matching color of course) that I use to dry off the door glass and rubber seal of my washer when I'm done using it for the day so it doesn't end up with that icky smell that front loaders can get.
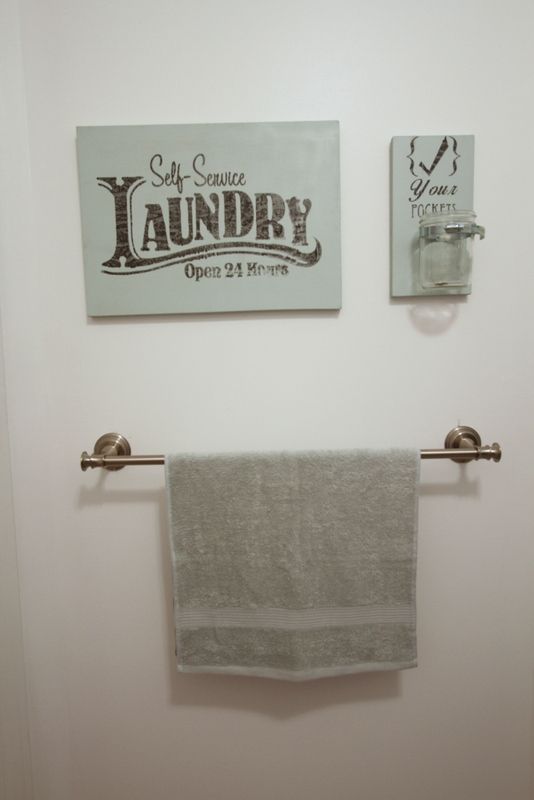
I seriously ADORE how the whole thing turned out.
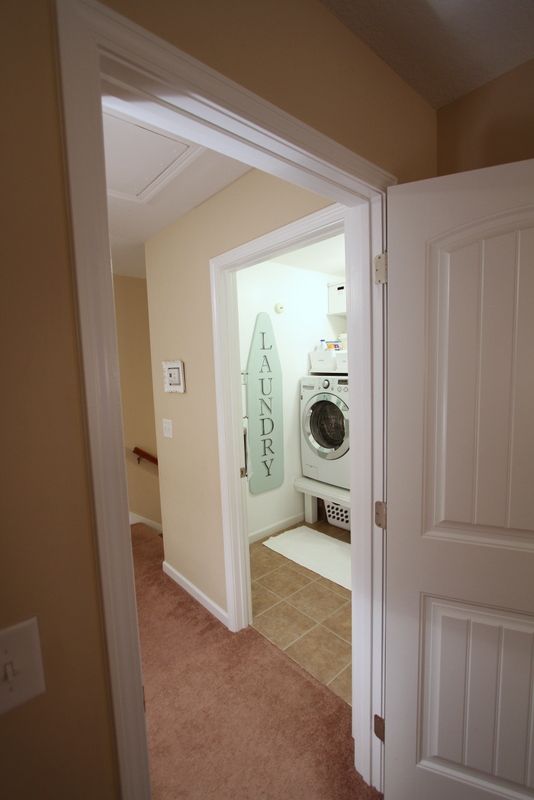
A-D-O-R-E!!
*sigh*
Is it weird that I look forward to doing my laundry now??
I don't care!
I totally do!!
Which is a good thing since its NEVER-ENDING!!
HAPPY CREATING AND ORGANIZING EVERYONE!!

No comments:
Post a Comment