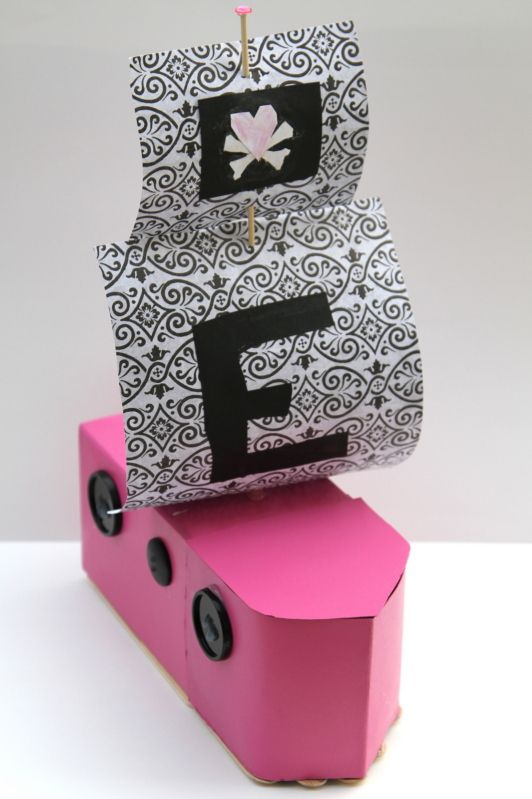
For Columbus Day E's Kindergarten teacher had her make a boat out of stuff we had around the house, then at school they would test the boats to see if they float.
This craft was done by my 5 year old.
Seriously.
She chose the design and I helped her figure out how to put it together, but she did the work.
This is a craft you can do with any age child!
The materials she used were...
An empty cleaned out milk carton
Scrapbook paper
scissors
Wooden skewer
An empty cereal box
Buttons
elmers glue stick
glue gun
paint
First we made sure the milk carton was cleaned out.
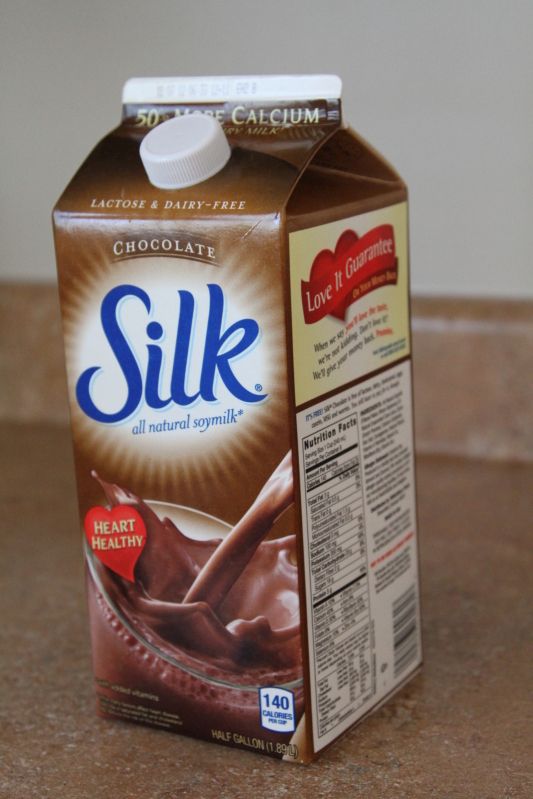
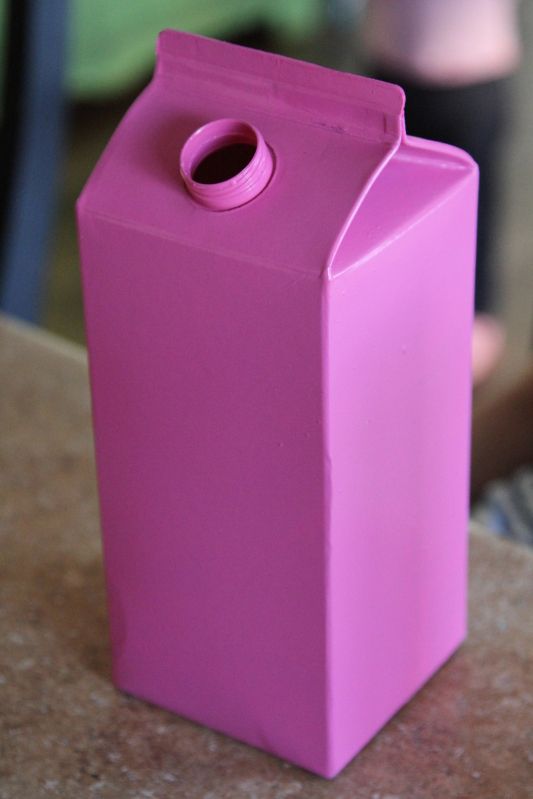
Then she spray painted it.
Took a couple coats.
And a little help from Mom.
But she did a GREAT job!
She put a big glob of glue along the inside of the cap
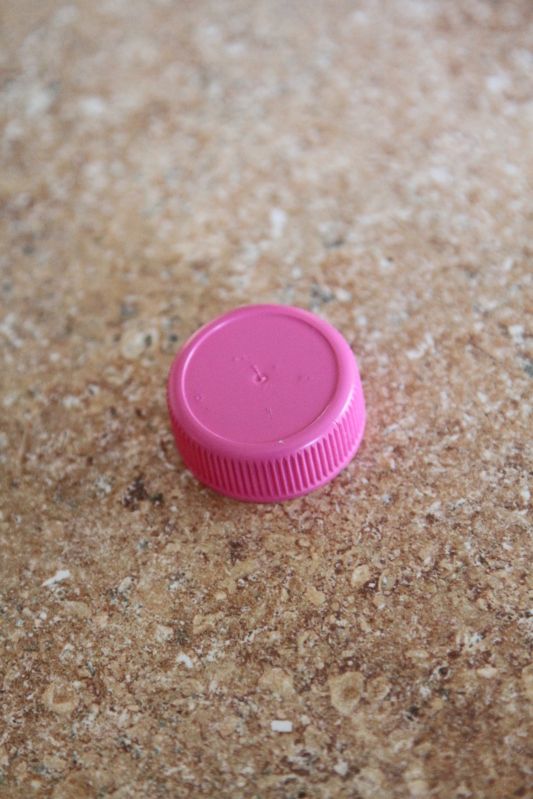
And then we screwed it onto the carton.
This makes it air tight.
This craft would work better with a regular gable top milk carton and not one with a capped pour spout, but this is what we had. If you're using a regular milk carton, simply put glue along the opening of the gable top, use a clothes pin or clip to hold together until it dries.
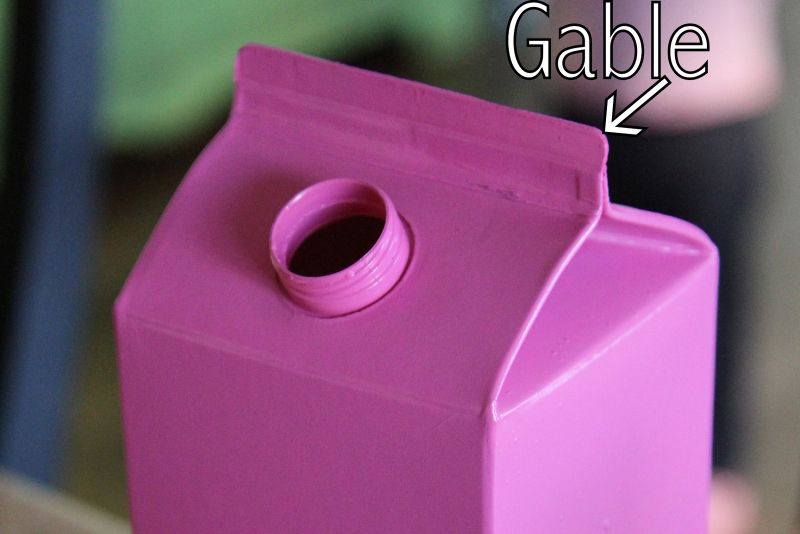
Next step, we wanted our carton to look more like a boat, so we needed to make a more boat looking hull.
So we took an empty cereal box
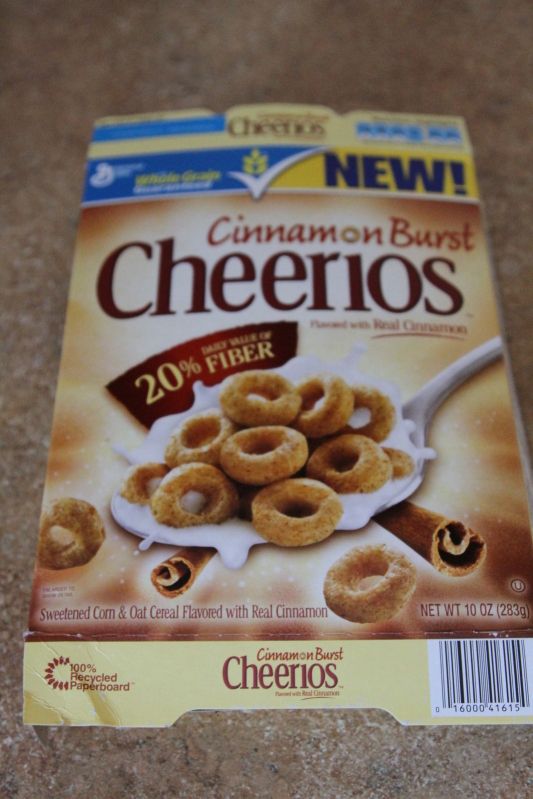
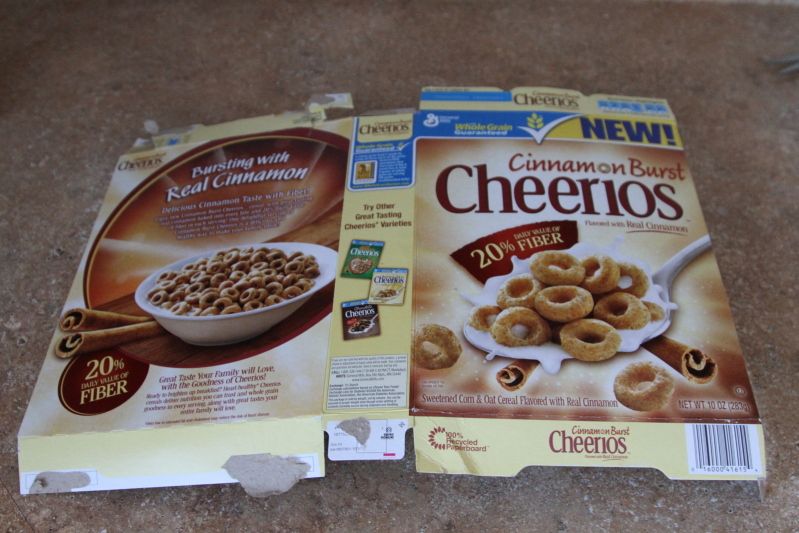
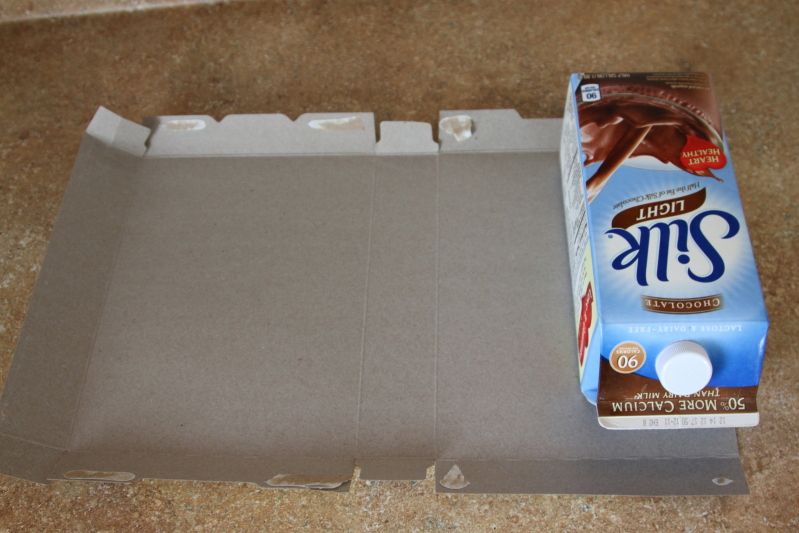
Then opened up all of the seams
First she cut down one of the edge fold creases to make a nice straight line
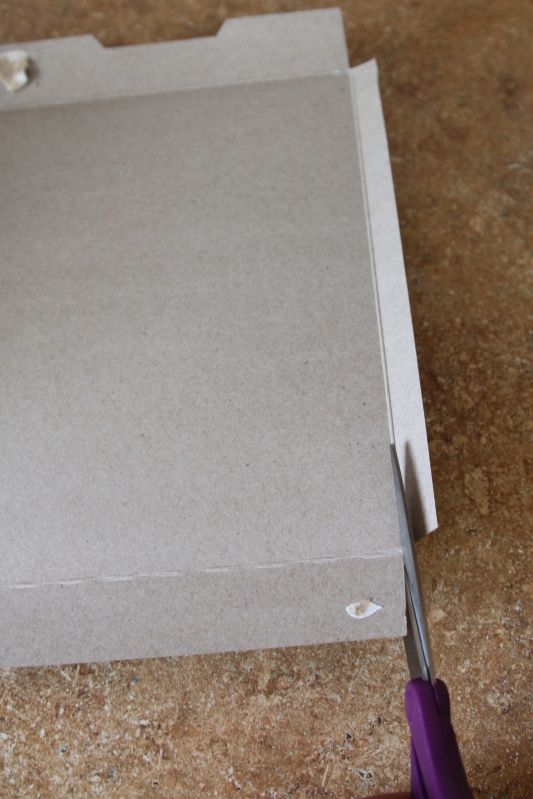
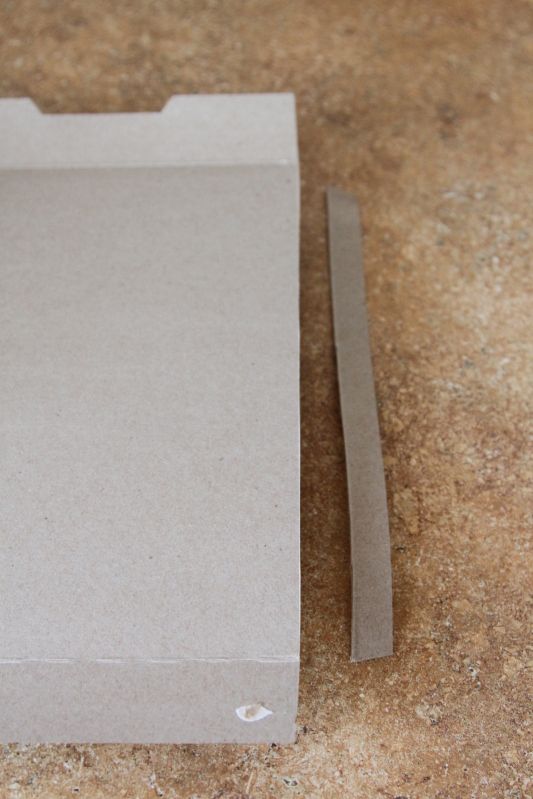
We laid the carton down lengthwise with the gable parallel to the laid out cereal box and the side of the carton on the edge of the cereal box.
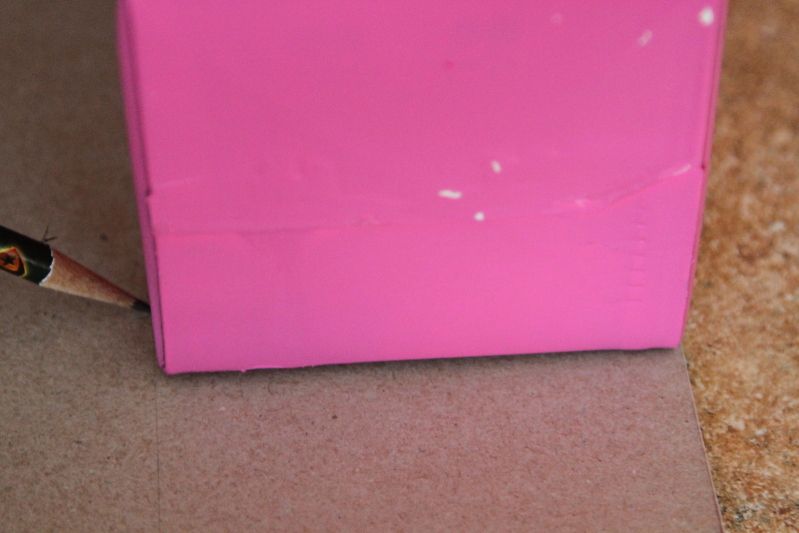
Then E traced down the length of the other side of the carton.
Then she cut down the line she drew.
This gave us a long strip the same width of the milk carton.
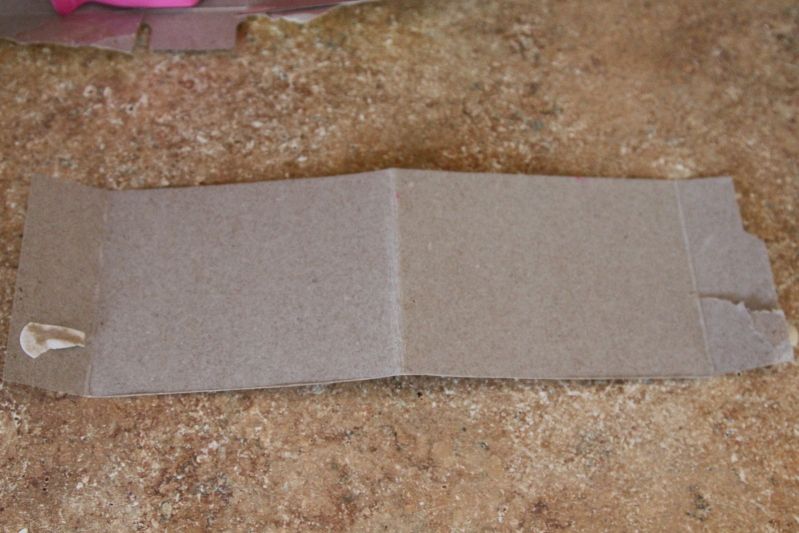
Next she folded the strip in half.
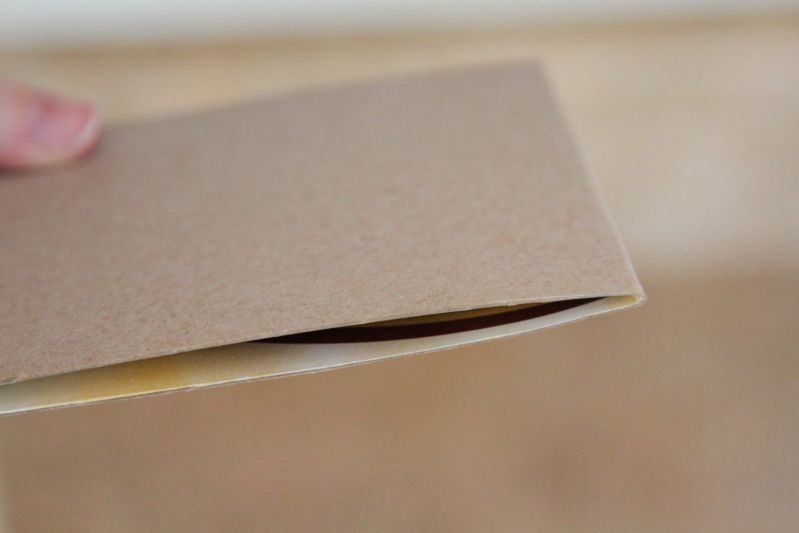
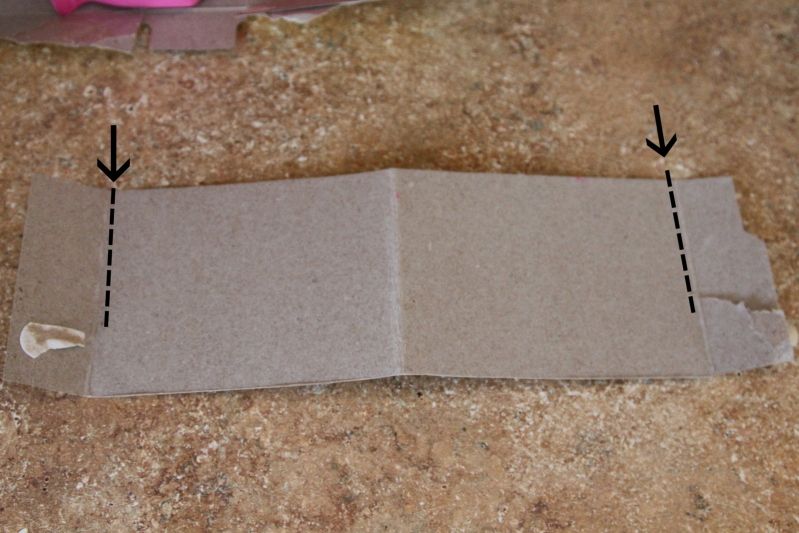
Then she cut off the ends to make a nice straight line
This part was a little tricky to hold together so Mom helped here.
We lined up the center crease of the cereal box strip with the gable top of the milk carton
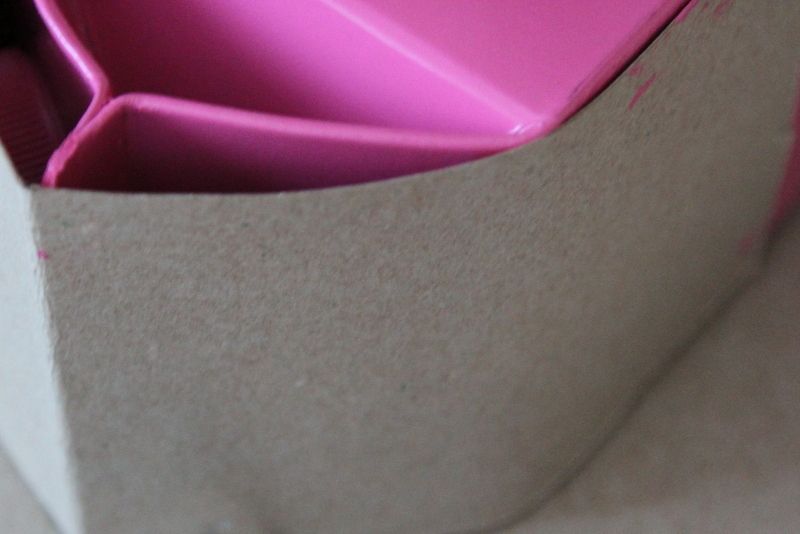
Then we thoroughly glue gunned it on to both sides.
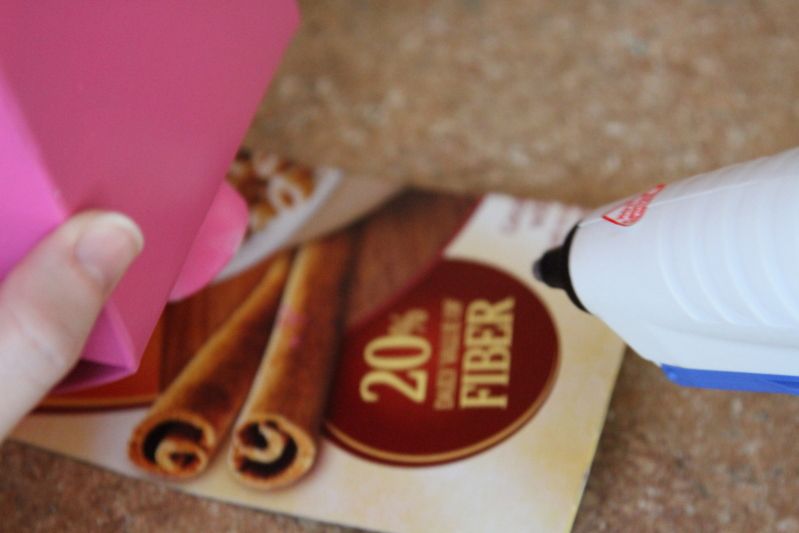
Next we laid down the milk carton (with gable perpendicular this time) onto the remaining remnants of the cereal box and traced all along the edge of the new hull we just made with the strip like so...
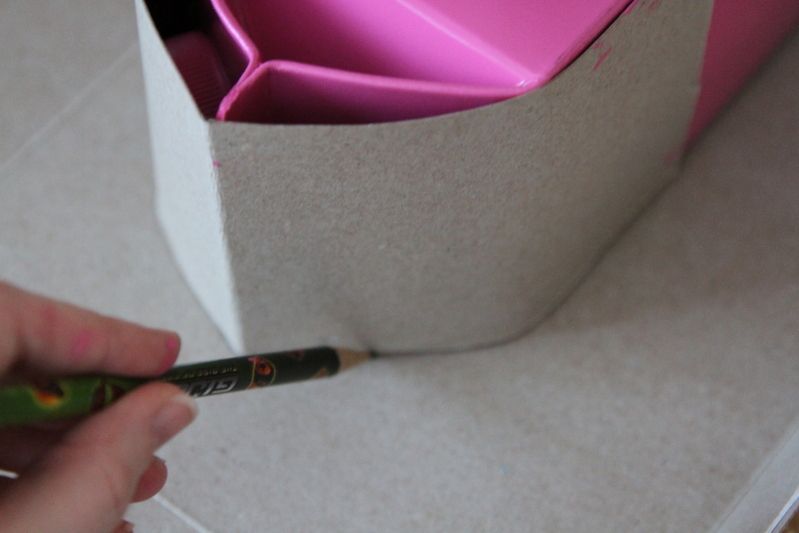
Then E cut it out and glued it onto the milk carton, now making it the top of our boat
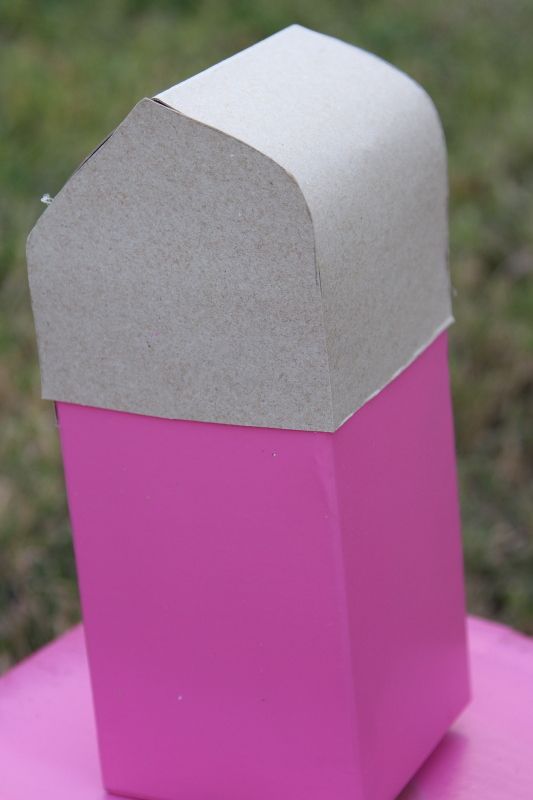
Then she painted it
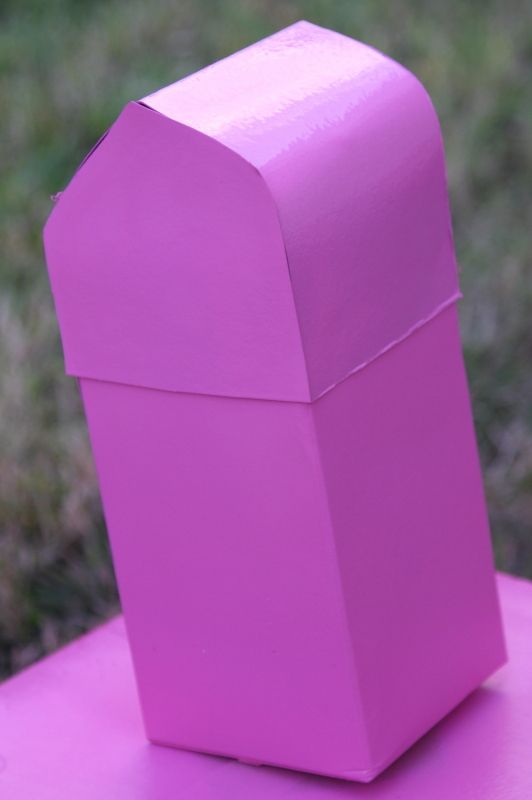
Now we had 2 choices.
We could have a sail boat.
Made with scrap book paper and a wooden skewer.
Or a steam boat.
Made by cutting a paper towel roll into 3rds (or use tp rolls), paint black and glue to the top of your boat.
E chose the sail.
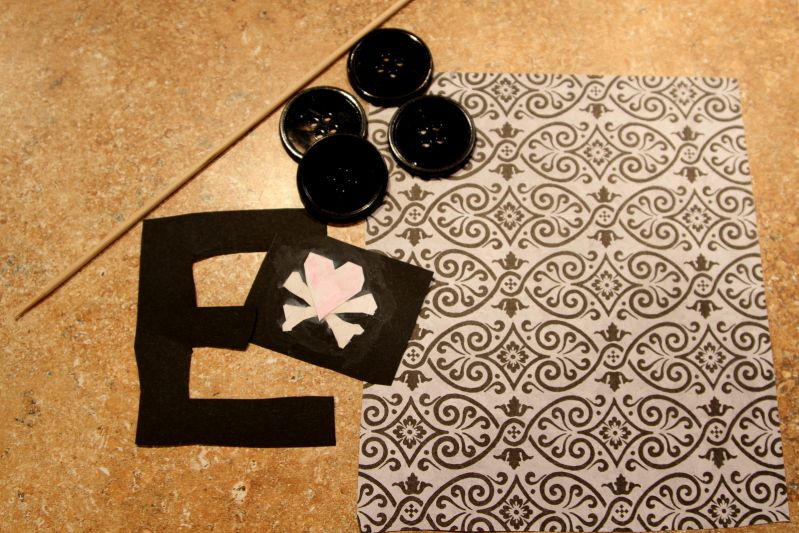
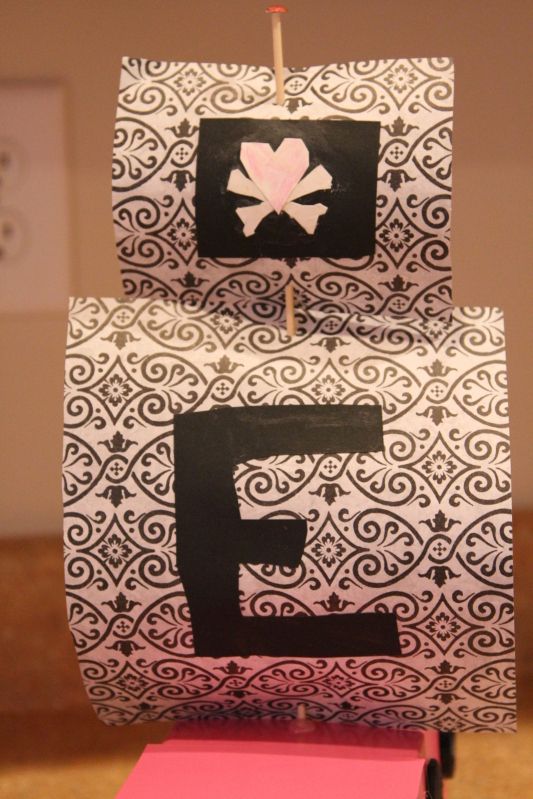
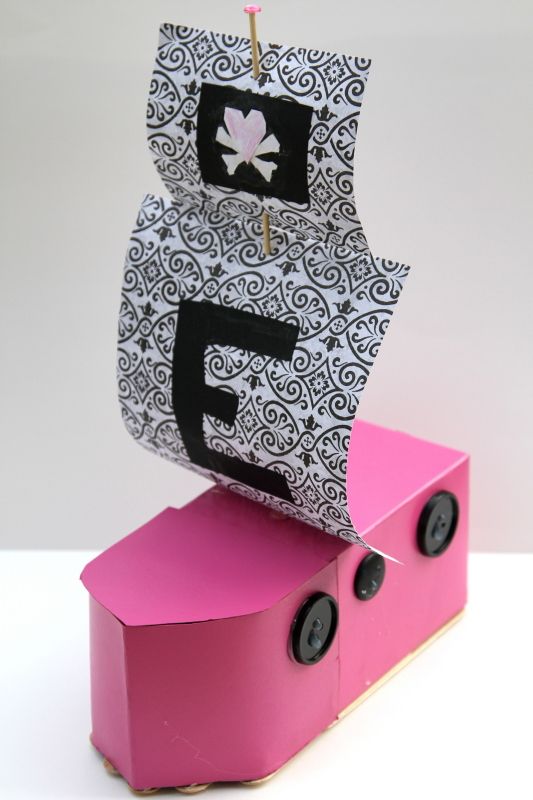
She picked a piece of scrapbook paper from my stash and cut out one big rectangle, and one smaller one. Then cut out a Big "E". And drew a heart and cross bones for a flag.
She glued the "E" onto the big rectangle, and the crossbones flag onto the little rectangle.
Then she punched the skewer through the middle of the top and the middle of the bottom of each rectangle, about an inch from the edge, putting the larger rectangle on the bottom and the smaller on the top.
Then she punched the skewer through the middle of the top of the milk carton
and glue gunned it into place. Then she glued a little gem to the top of the skewer to keep the sails from popping off.
(sorry, I was making dinner during this point so no pictures of her process, just the final result...but you get the idea.)
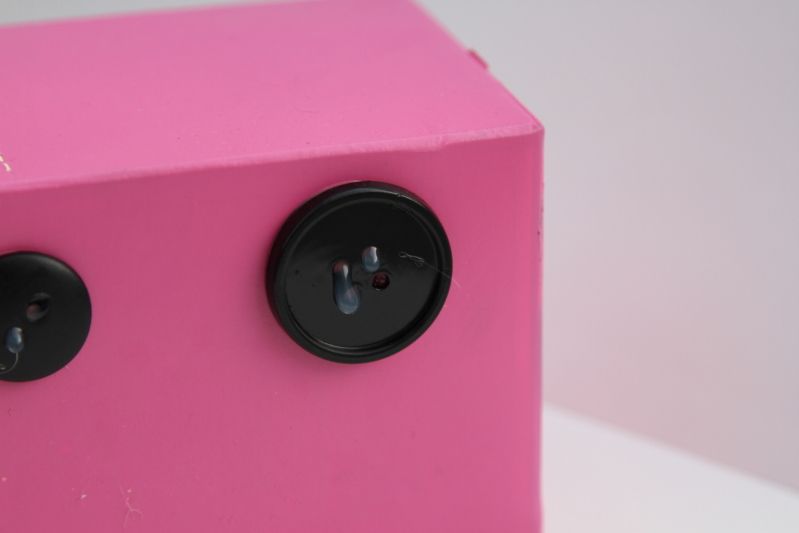
For portholes she glued some big black buttons to each side.
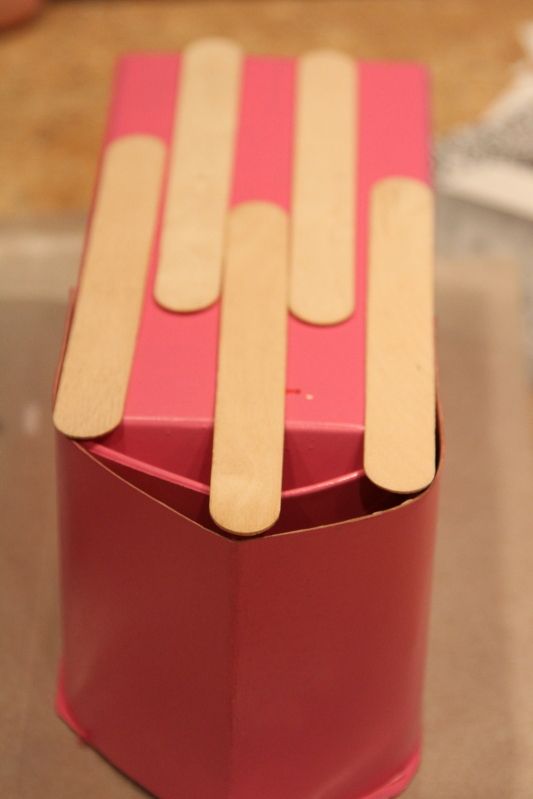
*We used popsicle sticks along the bottom to counter the weight and size of our big sail, but that is optional.
She did a fantastic job!
And it TOTALLY FLOATED!
And she got an award for most creative design!
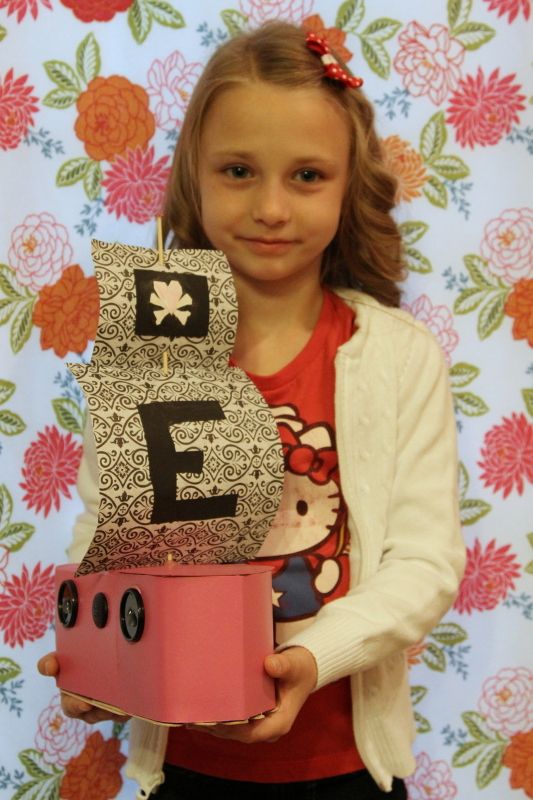
And that my friends is how to make a boat out of a milk carton with your child.
HAPPY CREATING!!

Very impressive!
ReplyDelete