Seriously.
Masters.
They have perfected the 2 things you never thought would go together, fine dining and camping.
It's not all hotdogs and roasted marshmallows here.
I'm talking roasted chicken, pot roast, onions, potatoes, amazing veggies, cornbread, peach cobbler, chocolate cake, brownies...
I think they all just like feeling like professional pioneers.
So how do you make a cake or brownies without an oven you ask?
Well my friends, the first thing you need to know is that a cardboard box can be turned into an oven.
Yes, a simple cardboard box.
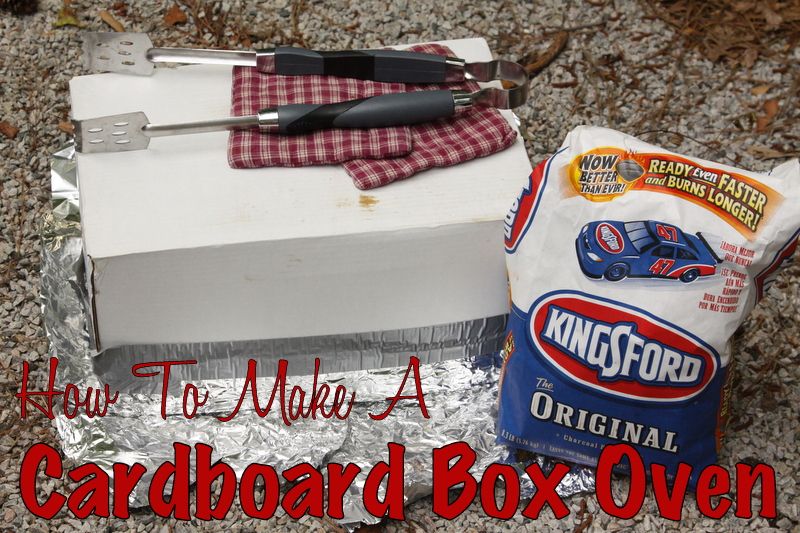
Items needed:
1 Box*
Heavy Duty Aluminum Foil (lots)
Duck Tape
2 Pie Tins
Charcoal
A wire cooling rack (oven safe, at least 5" high)
*Your box just needs to be big enough to fit the pan you are going to use for baking, with about 1" of space around the sides.
The box does not need to have a lid, but it does need to be a corrugated box.
We used a paper box. They're great because they're just about the right size for any baking dish and they're strong (obviously, to hold all that paper).
First line the inside of your box with 2 layers of aluminum foil, shiny side facing OUT.
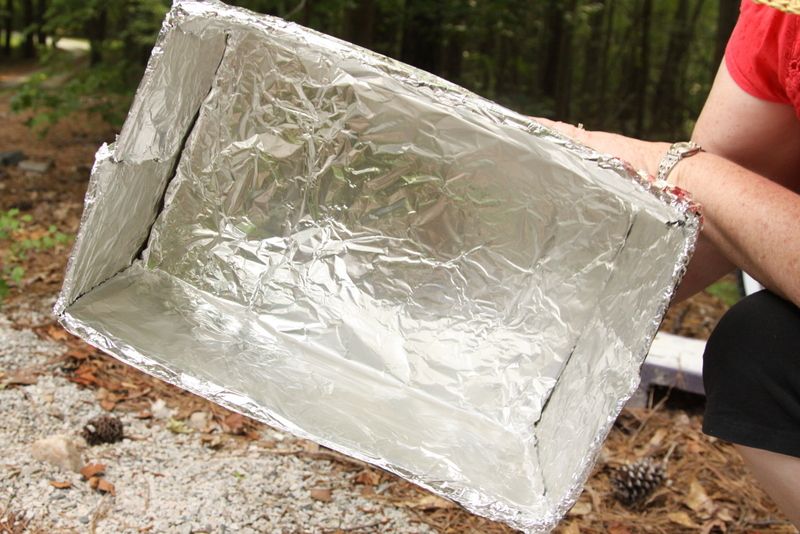
Make sure no box is showing on the inside.
On the OUTSIDE of the box we taped the foil edge down with a strip of duck tape to hold it in place.
Next, lay a piece of foil on a spot of unburnable ground, larger than the size of your box.
Place the pie tin in the middle of the laid out foil.
The temperature of your oven is controlled by how many pieces of charcoal you use.
Each briquette = 40 degrees of heat
Therefore a 400 degree oven would require 10 briquettes.
Distribute the briquettes your recipe desires between 2 pie tins and light.
Place your wire rack over the coals.
Place the aluminum lined box over the coals.
Prop up one end of the box with a small pebble to allow for venting so your charcoal doesn't smother.
Wait 20 min.
Now your oven is pre-heated and ready to bake.
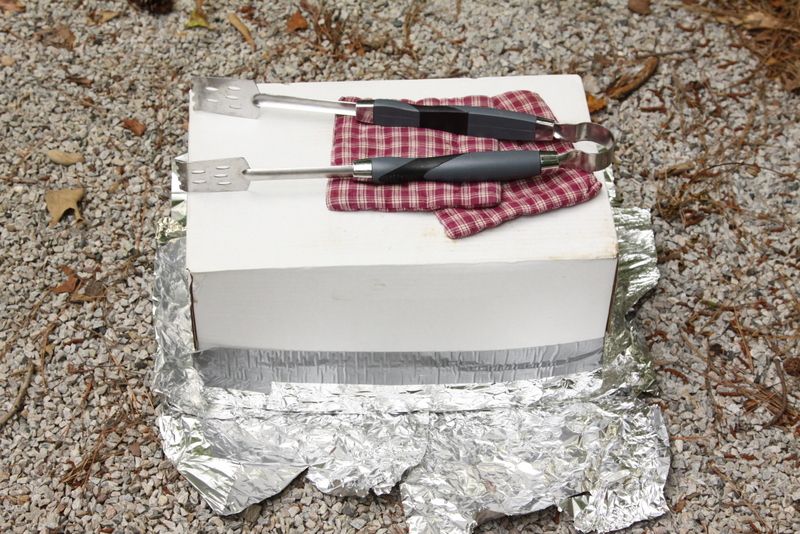
Lift the box and set it aside
Be sure to lift the box straight up and down so you don't "dump" the heat out.
By lifting the box straight up, it keeps the heat inside. If tilted, all of your heat will be lost and your cook times will be messed up.
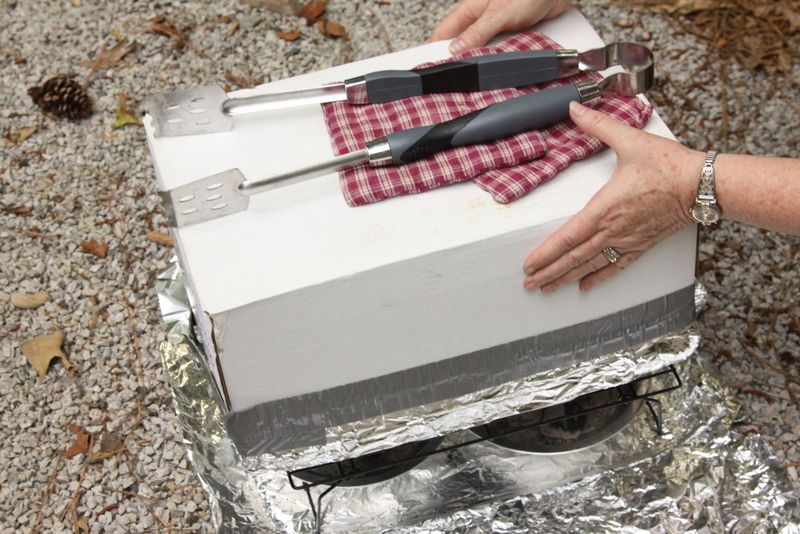
Place the dish you wish to bake on the wire rack over the coals, top with your aluminum lined box (straight up and down). Prop up one end of the box with a small pebble again.
Now wait.
I know it's hard to do without peeking, but it'll be worth it.
If cooking something for longer than 30 minutes, you will have to replenish charcoal to keep the heat going.
Anything you can bake in a regular oven can also be baked in a Box Oven.
You don't need to change the recipe at all.
We made Chocolate Chip Fudge Brownies.
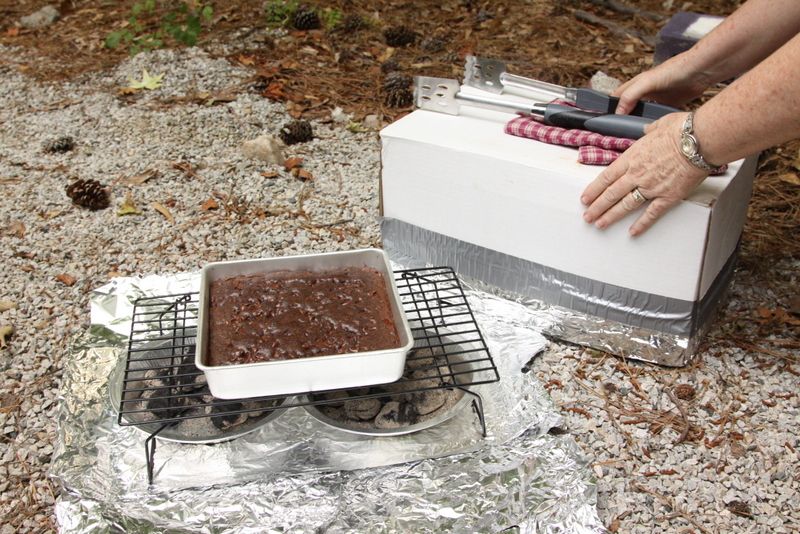
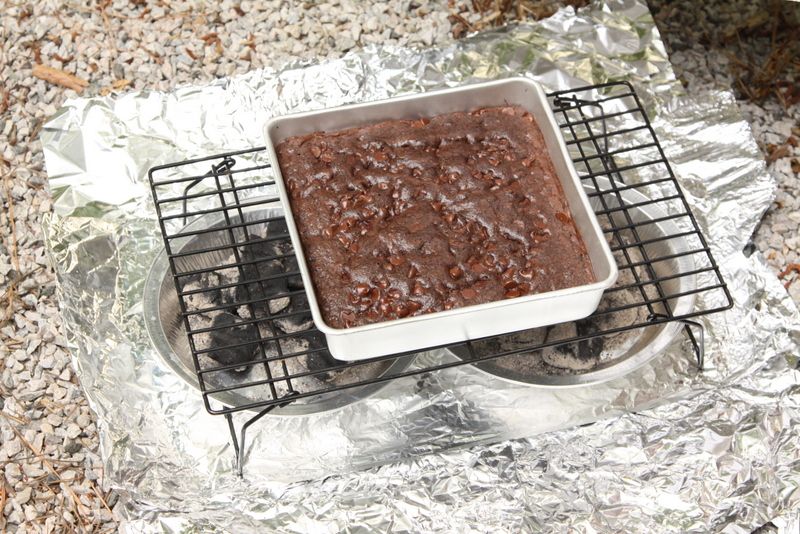
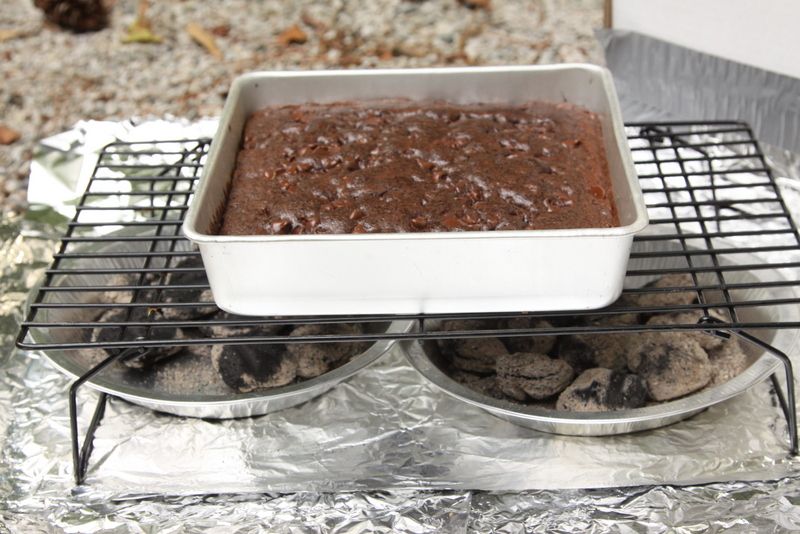
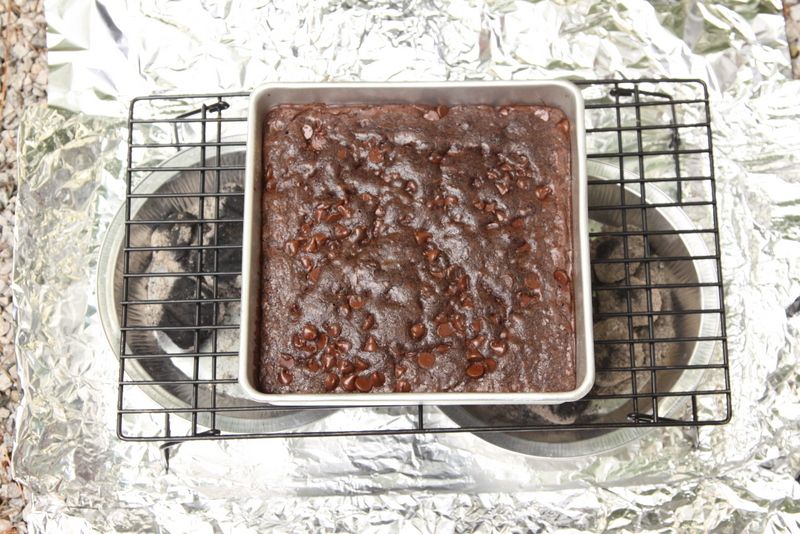
And they were DELICOUS!!!
You might have to adjust your bake time a bit to account for any impatient "checking", and basic heat loss depending on how big your pebble is, and how secure your foil is on your box.
Your box oven will work right over your campfire as well. Just be sure your foil is high enough on the sides so your box doesn't burn.
Your box can be used over and over so save it!
This is also something that comes in quite handy during any extended power outages for those with electric ovens. An excellent thing to teach your little Scouts. And a handy dandy thing to know in those hot summer months when you don't want to heat your house with baking.
Take it outside my friends!
HAPPY CREATING EVERYONE!!

No comments:
Post a Comment