
How to make an old fashioned Silhouette.
So easy and so gorgeous!
And I can show you a simple way to get the look without having to have the talent.
Supplies Needed:
Camera
Printer Paper
Printer
Scissors
Photo safe tape
1 Sheet of paper for silhouette itself
1 Sheet of contrasting paper (or fabric) for background
(for papers, you can use cardstock, but not necessary)
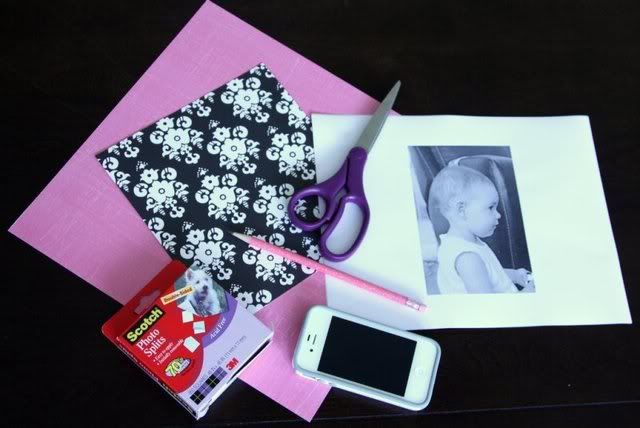
Simply get out that digital camera.
Even a cell phone pic will do as long as it's enough megapixels to print in the size you would like without losing detail.
Take a profile picture of the subject then load it onto your computer.
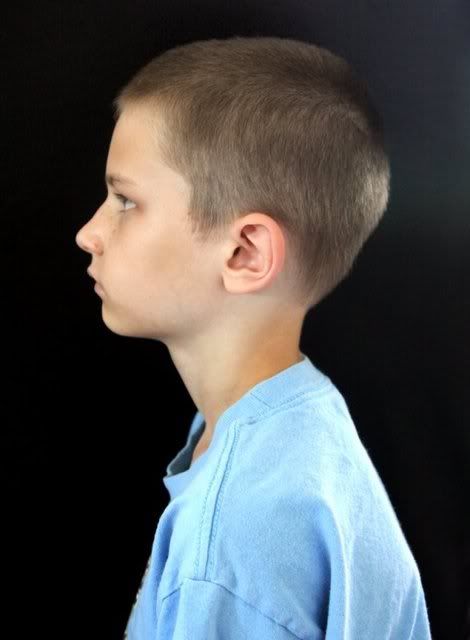
It's best to put them on a blank contrasting background.
ie. if you're pale with light hair like me, stand in front of something dark for your picture.
if you have darker tones, or dark hair, stand in front of something light.
Especially for children, this way all of their adorable individual features will stand out more clearly.
Like as such;
For today though, I'm going to do one of my darling Adalyn
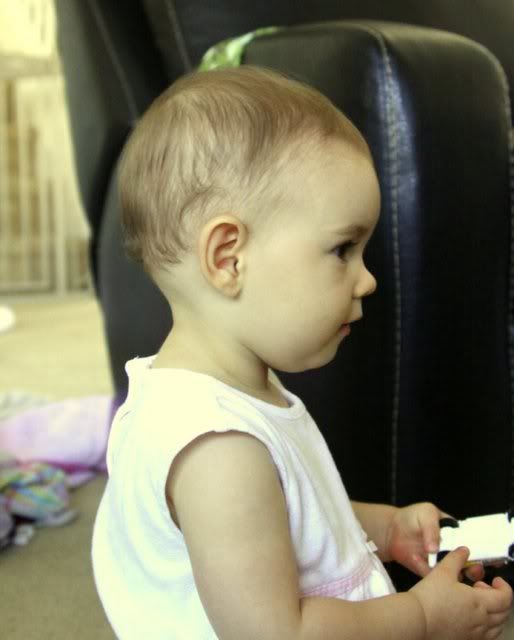
Crop the digital image to the size that you would like.
Remember to leave room around it.
For example, if my frame is 5x7, then I would print my picture as such that the face would fit perfectly in a 4x6 frame.
And flip it however you need to so that the subject in the picture is facing the OPPOSITE way of how you would like the finished product.
Almost any photo editing software will let you print it straight off of your computer.
No need for fancy photo printing paper, regular printer paper is perfect.
And black and white is best so don't worry about a color printer.
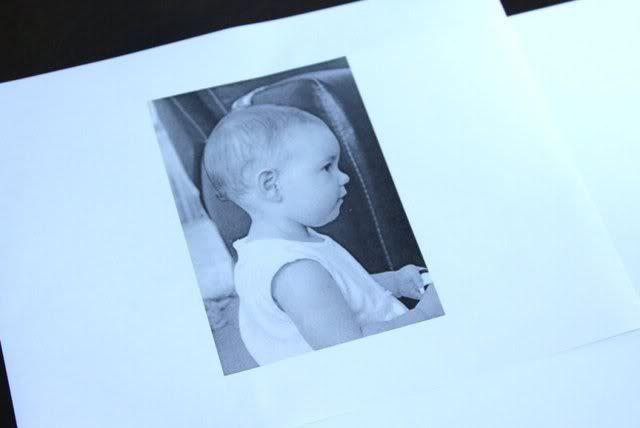
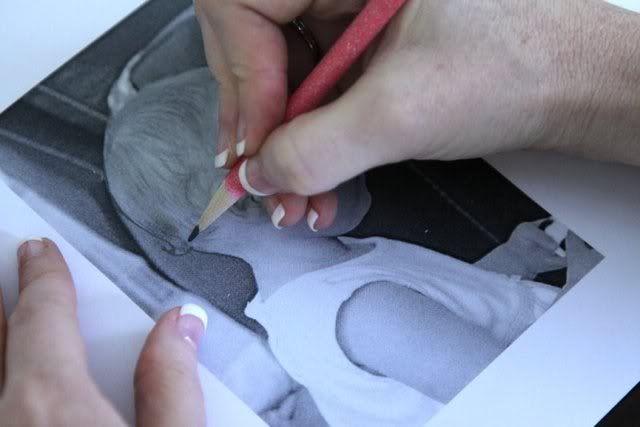
Now I like to take a pencil and outline the profile of exactly where I'm going to cut. This helps especially on the hair. Don't forget the cowlick or curls, this is what really makes the silhouette pop. And remember you'll have to cut it with scissors, so sometimes exaggerating it will help. It's easier to take a little off later then have to completely re-do it. This technique is also nice for us old-ies who maybe want to shave down the neck a little to make it a little more long and elegant, I'm not saying that's what I did... I'm just sayin'.
Now line the back of the face only with a few photo safe stickers, steer clear of the edges.
This just makes it so it doesn't move around while you are trying to cut.
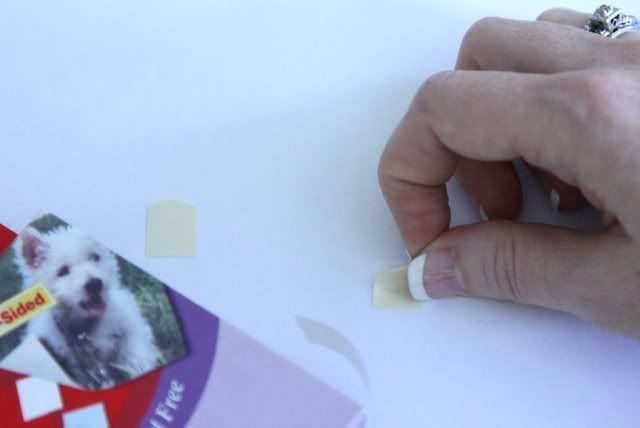
Attach the photo to the BACK of the paper you have selected for the Silhouette.
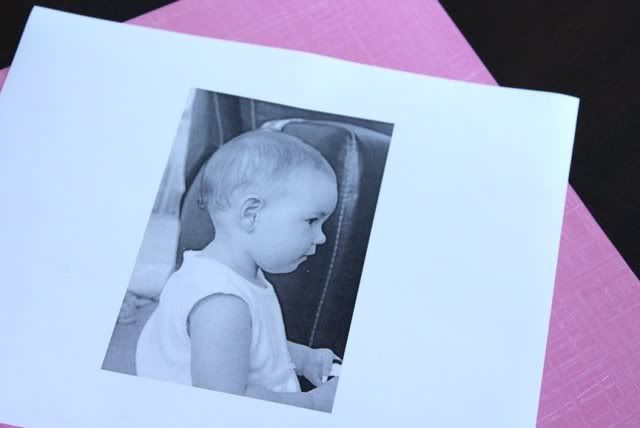
You can use Traditional black, Or choose a fun scrapbook paper
All depends on the look you want.
Now start cutting.
Try and make your cuts as smooth as possible.
Take care around the hair...and eyelashes if you're really good.
Surgical scissors actually work best because they are so precise.
(sadly I don't have access to any)
It can get a little tedious, but the finished product is SO worth it.
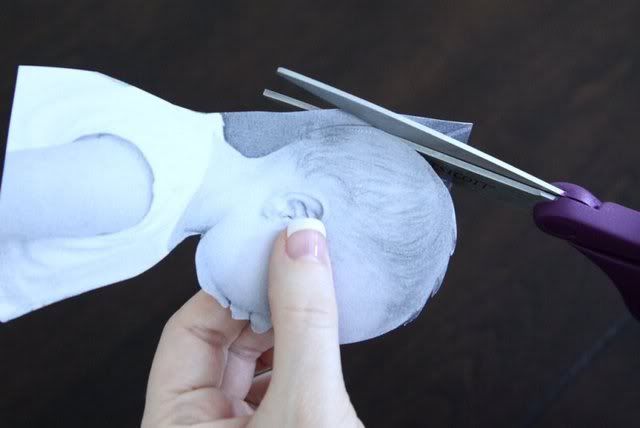
Next we'll need to frame up the bottom real nice.
I like to start by outlining the top of the shoulder, then draw a smooth rounded line connecting the shoulder to the front and back of the body like this;
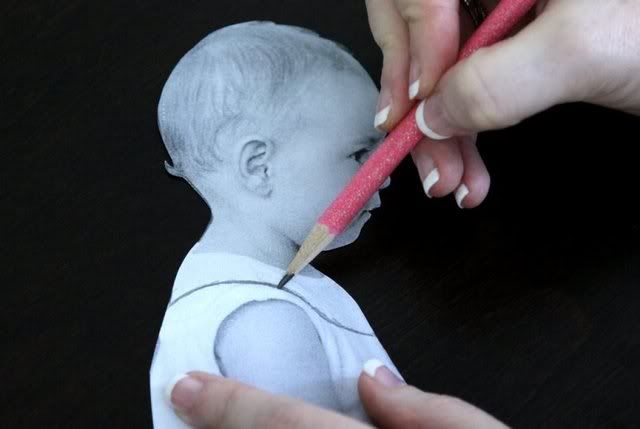
It looks best if the front comes down lower than the back.
Once you have it outlined the way you want, simply cut it out.
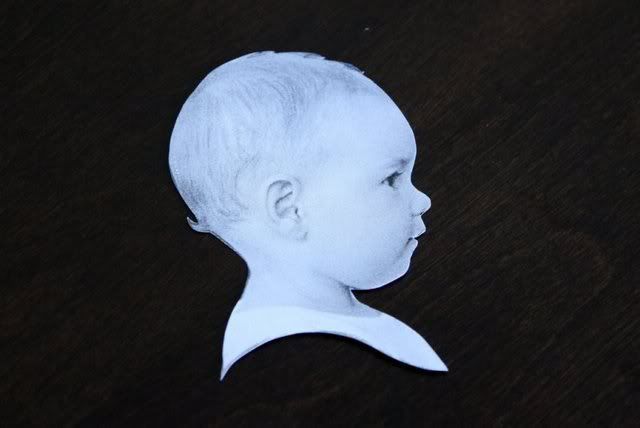
Now gently peel off the printed picture, leaving just the scrapbook silhouette cut out.
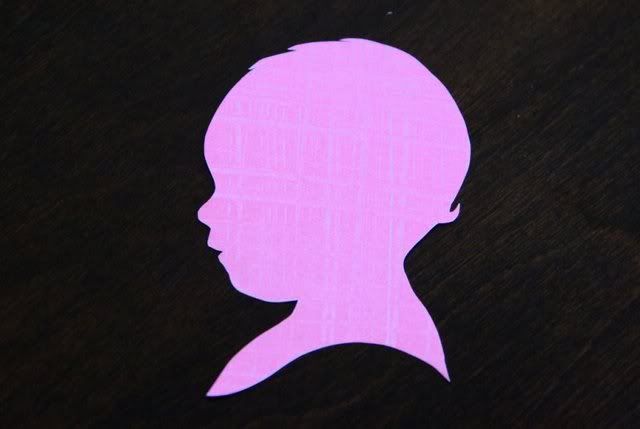
Add photo tape to the back, taking care to get all the edges.
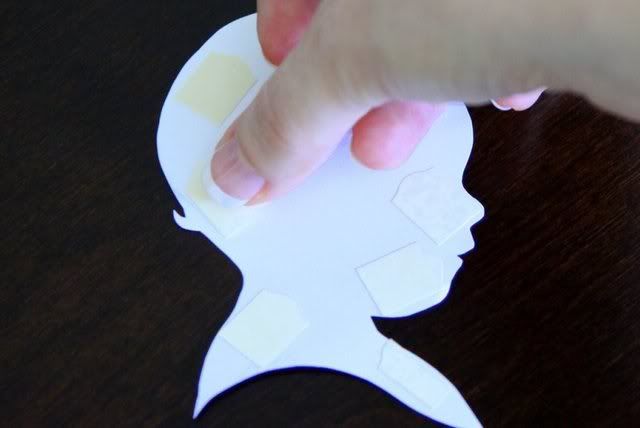
Now get your contrasting background paper.
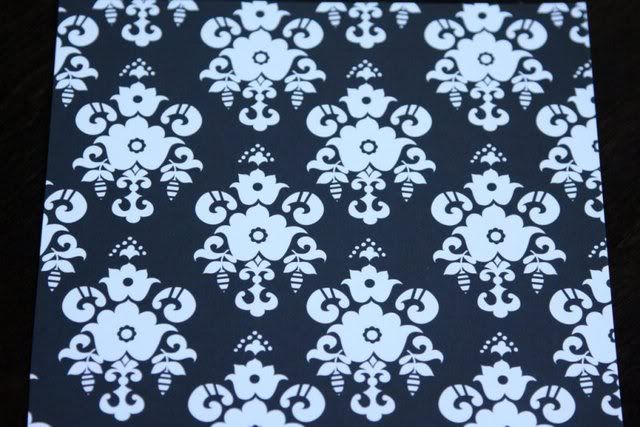
Crop it to the size you would like for your finished product.
Then center your silhouette, and stick.
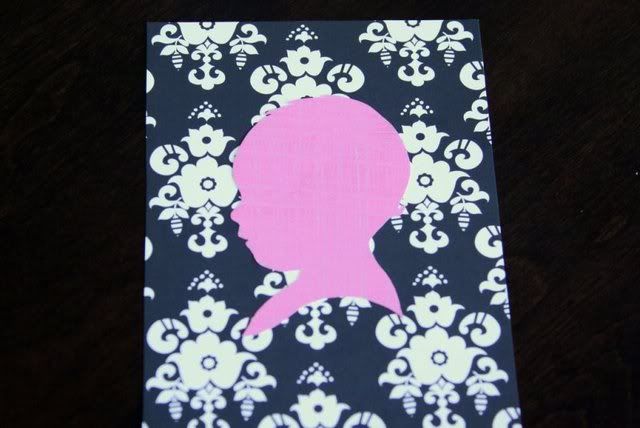
Add to a fun frame and Viola!
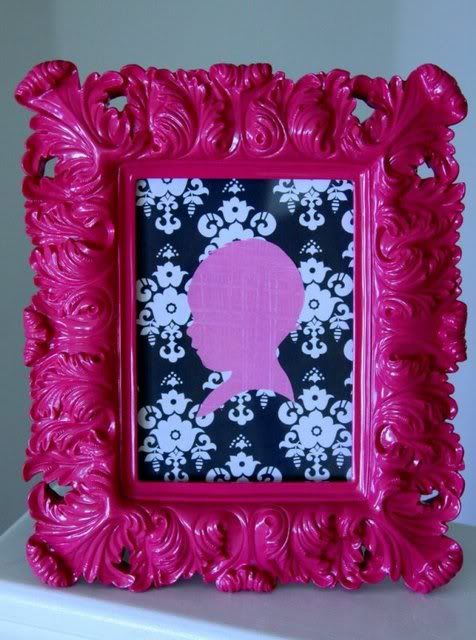
Isn't she a doll?!!
There are all kinds of ways to have fun with this.
You can do a traditional silhouette.
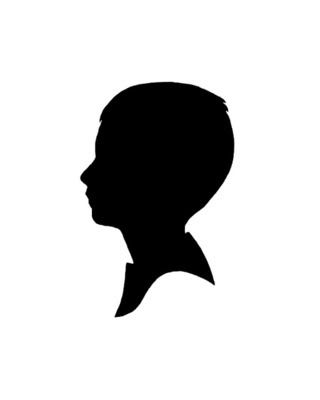
You can play with the cutting to create a fun look.
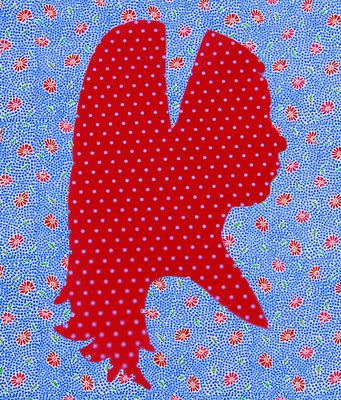
Or embellish your picture with anything you see fit.
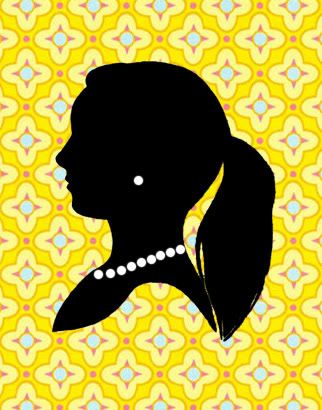
Flowers are fun for girl's hair....
Add a cute neck tie, or hat for your boy...
A top hat with an embellished sash...
The possibilities are endless!
Have fun with it!
And please send me a pic or post it on your blog and let me know so I can see your creative talents!
Happy Creating!!

No comments:
Post a Comment