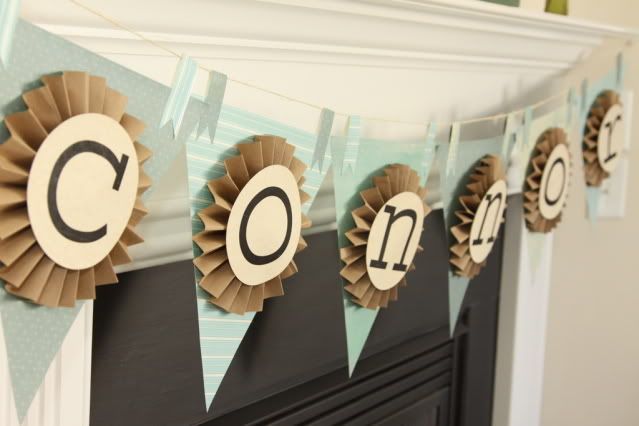
I love triangle banners.
Seriously.
L-o-v-e them.
It adds such an easy festive touch to, well...
Everything!
And it's so easy, the possibilities are endless.
I've received a couple messages asking how I do them... once you see, it's so easy, your house will be covered in them year round too!
First figure out what you want it to say.
In this case, my boy's birthday is coming up so to honor him properly our mantle will don his beautiful Irish name for the entire month.
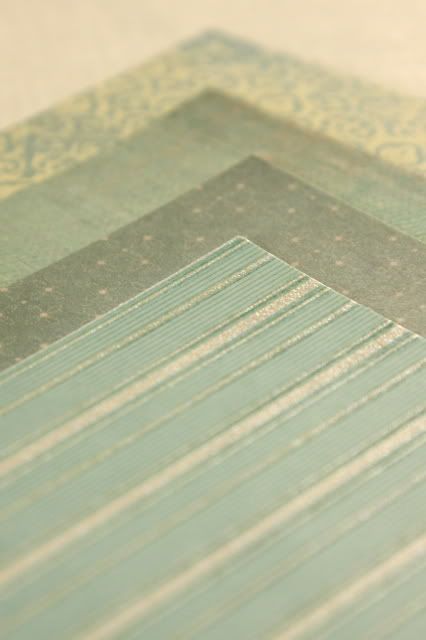
So now you need 1 sheet of darling coordinating scrapbook paper for as many letters as there are in what you want to say.
Now we need to make those square sheets triangles. You don't want a wonky looking triangle, so we need to be sure it's symmetrical. Now because I make one of these at least once a month, I have a template I made.

It's been loved a few times.
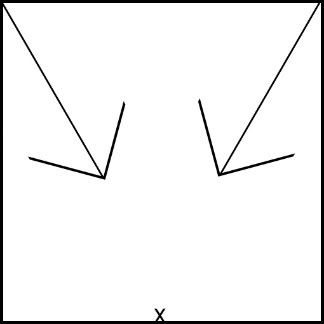
To figure out your own triangle template that will work for any size paper, simply mark the middle of bottom of the paper, then connect each top corner in a straight line to the middle point on the bottom, then cut out...instant symmetrical triangle.
Once you have your template ready, trace it onto the back of your fancy scrapbook paper.

Then, nice and straight, cut it out.
Now don't toss, the scraps...
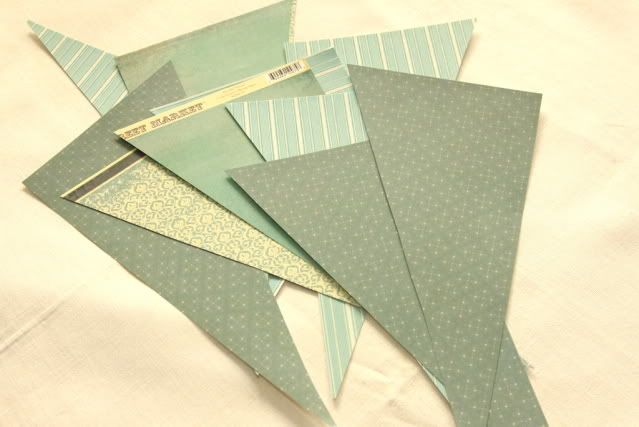
We'll come back to those.
It's time to embellish it.
For really fancy ones, I use paper doilies found in craft stores or down the Wilton Cake decorating aisle.
For my all american boy though, frilly simply won't do, so I came up with this, more manly and so simple idea.

I like it because it reminds me of those old school award ribbons...

And who doesn't like getting one of those??
No one I tell ya!
Now to create it, simply take a brown paper grocery bag, open up the seams and unfold so the whole thing lays flat on the floor, then cut it into long strips.
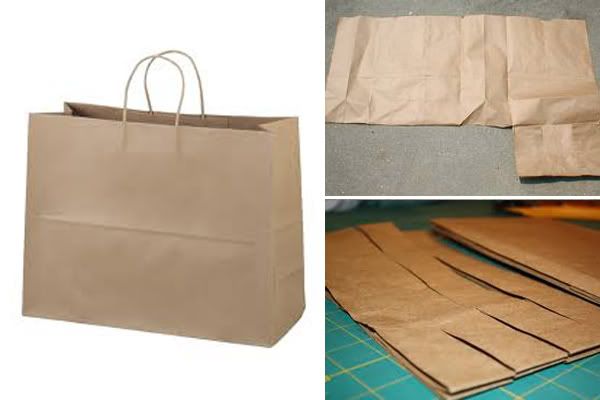
To figure out exactly what size to cut your strips, you have to figure out how big in diameter you want your finished circle to be and then half it. That's how wide you need to cut your strips.
For example, I wanted my finished circle to be 6 inches in diameter, so I cut each strip 3 inches wide.
Next you want to fold it like an accordion.
You remember from when you were 6 and made all those darling paper fans...same thing.
Try to make each fold even in size to the last

Now take the ends and tape them together inside the folds so the tape is not visible.
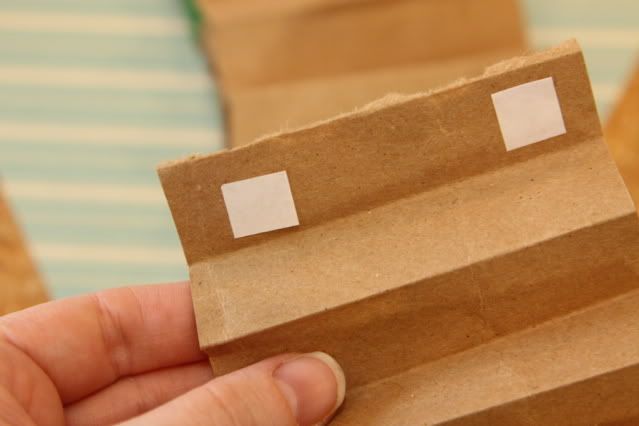


Now you should have an awkward looking thing like above, but stay with me, it'll take shape soon.
Flip your accordion to the wrong side, squeeze together so the inner ends come together and hot glue in circles around the center and out about an inch so it stays in a nice tight circle and is easier to transfer. Hold until dry. If it doesn't all stay together it's ok, you can fudge it when you attach it to the triangle. ( I don't do this step but thought you may find it's easier in controlling the accordion which seems to get a mind of it's own at times).
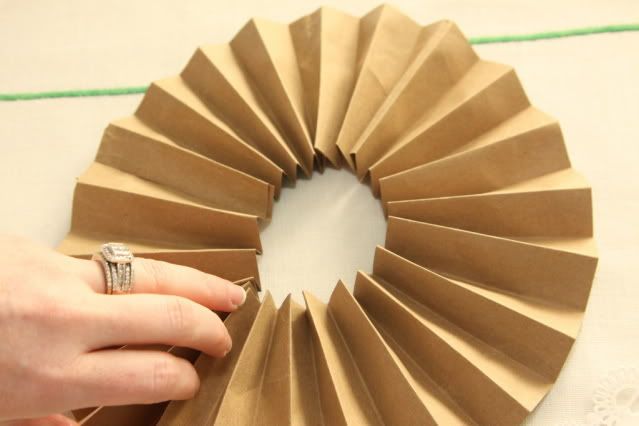
Next add some hot glue in a big circle to the center of your triangle

Now attach the accordion to the center of the triangle in the middle of the hot glue. Best way is to grab the accordion (on the right side) by pinching the center to hold it together and then place it in the middle of the triangle. Two hands work best in keeping it together.
Now I add a little hot glue right in the center of my accordion circle and make sure each inner edge is pushed as far in as it can go making a nice tight circle (it doesn't have to be perfect because your letters will cover it up).
Press until dry.


It's time now for our letters.
I open a Word doc, do one letter at a time and make the font size like 500 or so. It all depends on the font you're using. You can download some cute free ones at dafont.com
Make sure your letter is centered on the page (including top to bottom). This way you won't have to worry about running off the page when you try to cut it. After you get it looking how you would like, print it onto card stock in the color paper of your choice that coordinates with your triangles. I chose a card stock made to look like parchment and an old typewriter font for the letters.
Because old things are awesome.
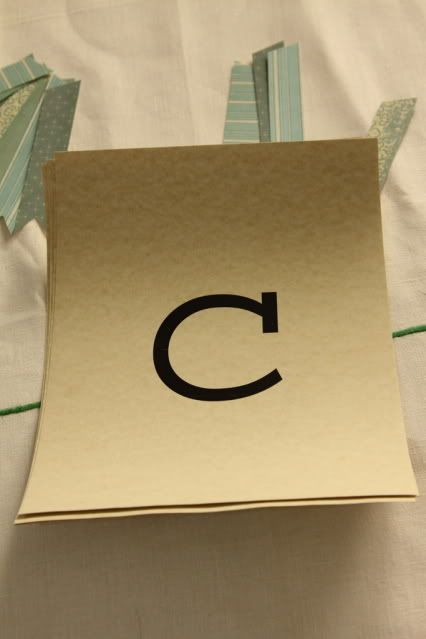
Now it's time to cut them. You can do squares, turn it sideways and make them diamonds, hearts...I chose circles to enhance the ribbon award look I was inspired by.

BEFORE CUTTING BE SURE YOUR LETTER IS CENTERED!!!
If not it's going to look a little wonky hanging there.
Now flip your letter over to the wrong side and cover in hot glue
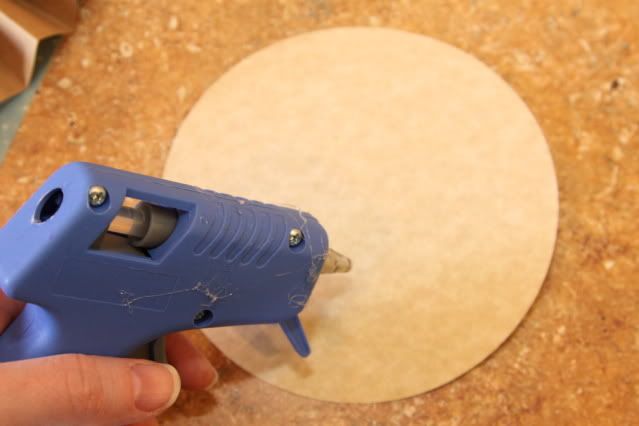
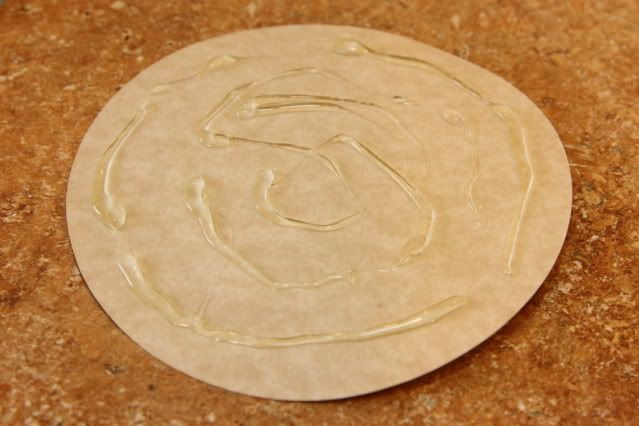
Place right in the center of your accordion circle and press until dry.
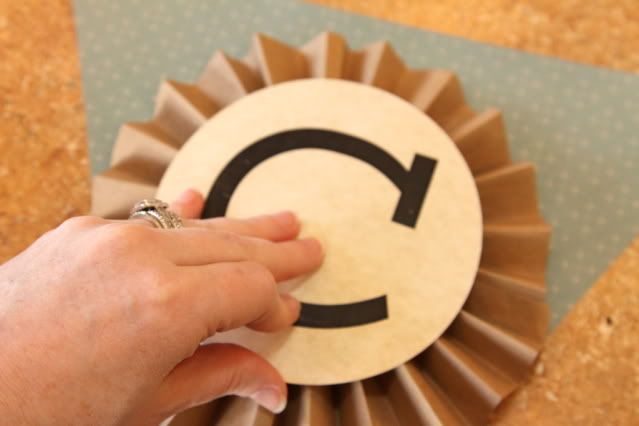
Now lets set that aside and go back to our triangle scraps.

These are going to be our tabs that our triangles hang from.
First take the long side of each scrap and cut a 1 inch strip off.
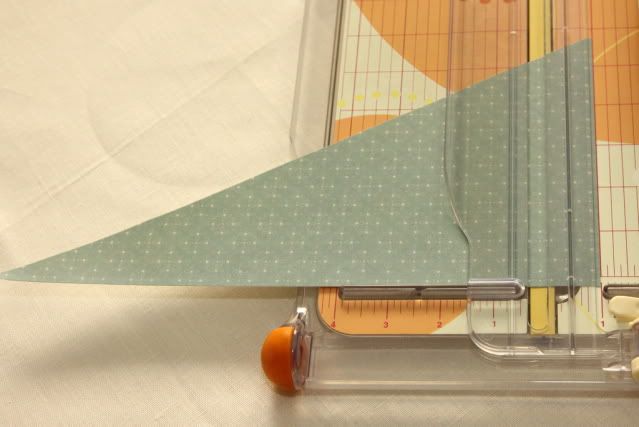
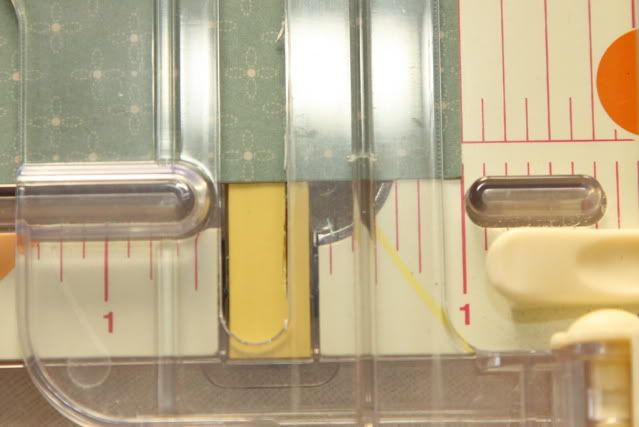
You should end up with a bunch of strips like this

Now you can use the flat ended side (not angled(), or use a corner rounder... but I like to make mine a little fancy like old ribbons, so I cut out a little triangle on the ends.
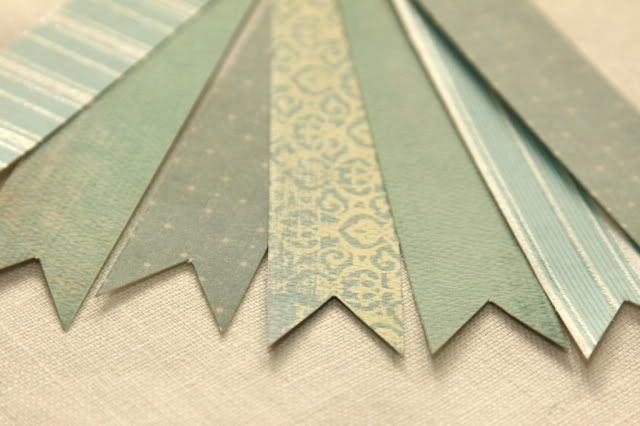
So cute.
Next flip your 1 inch strip to the wrong side and add tape to the end that will be on the front of your triangle (the fancy side). Now I use scrapbooking squares, so I attach it to both sides but only peel off the wrapper on the fancy side for now.

Next attach the fancy side to the front of your triangle. I mis-matched mine to the triangles for a little added eye-happiness.
I usually go 1 inch in from the edge and 1.5 inches down from the top of the triangle to the bottom of my tab.
Do the same one the other side.
Now if you can't trust your eyes in eyeballing it so everything is even, then get a ruler because again, if it's off, it'll look wonky.

Now flip the whole triangle over and from the top of the triangle, measure 1 inch up on the strip tab and then fold over.
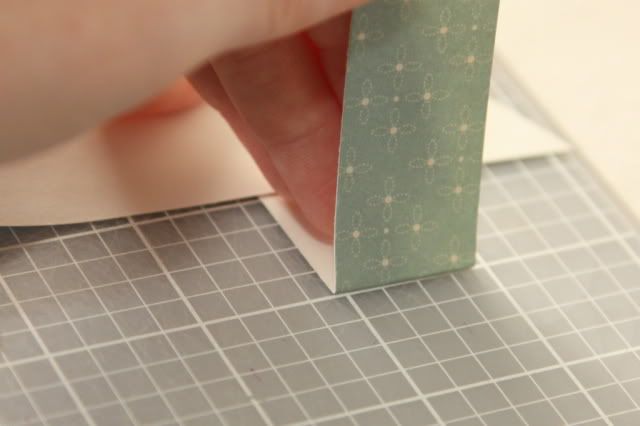
Now it's ready to hang!
Make sure you have a string all ready to go (mine stays up year round since something is always on it), remember the weight will pull it down a little so don't make it too loose or too tout.
Peel off the wrapper on the other end of the strip, place the fold of the tab right on the string, then stick the back of the tab to the back of your triangle.
Do this for both ends.

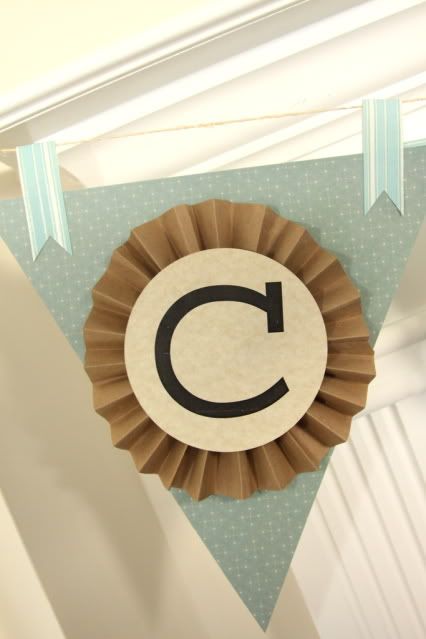
Repeat for each triangle.
Sit back.
Admire your crafty handiwork because you rock!
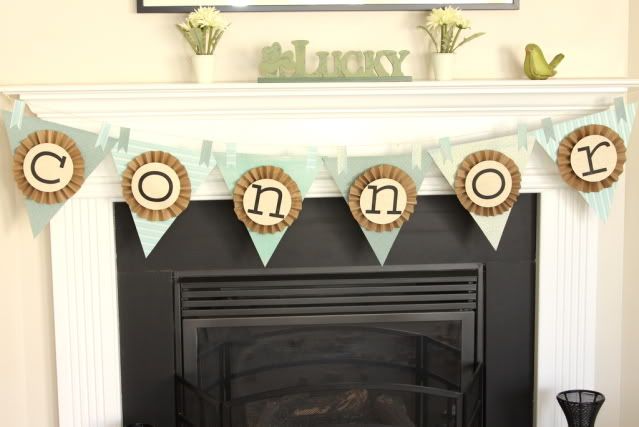

Happy Creating!!

What is the tool you use to cut the circle shapes? I love this banner and would like to recreate, but I currently have nothing that will cut a perfect circle.
ReplyDeleteThank you!!
I use the Creative Memories Cutting Collection - You can buy them on Amazon. The Circle Patterns can be found here-
Deletehttps://www.amazon.com/dp/B001TMFZEY/ref=cm_sw_r_sms_api_oORwxbTJS3P7S
And the blades, Red Green Blue Swivel Blade Cartridge Set , can be found here-
https://www.amazon.com/dp/B00K9W64MW/ref=cm_sw_r_sms_api_OQRwxb2FMDM98
This is just a reference, if shop around to find the best price. Or you can search the scrap booking aisle of your local crafting store. They should have lots of different tools you can use to easily cut the perfect circle from different brands. Ask an employee to help you figure out which tool will best fit your needs.
Happy creating!!