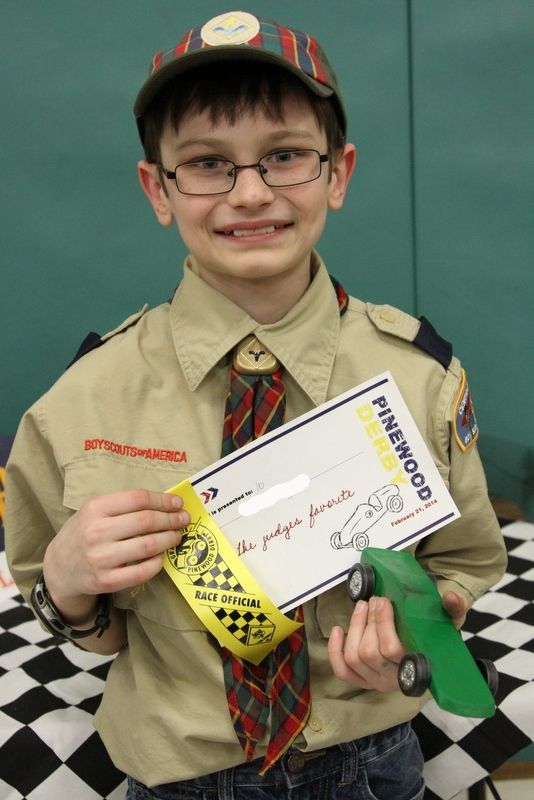
My boy was super excited about Pinewood Derby this year.
Mostly because this is his very last race before entering the big world of Boy Scouts in just less than a month.
*tear*
And now that we are all done racing I can reveal some of the Boy's and his Dad's Pinewood Derby racing secrets.
There are lots of fun Pinewood Derby websites.
The Mr. and the Boy like to use https://www.derbymonkeygarage.com to find super fun and free car plans and templates.
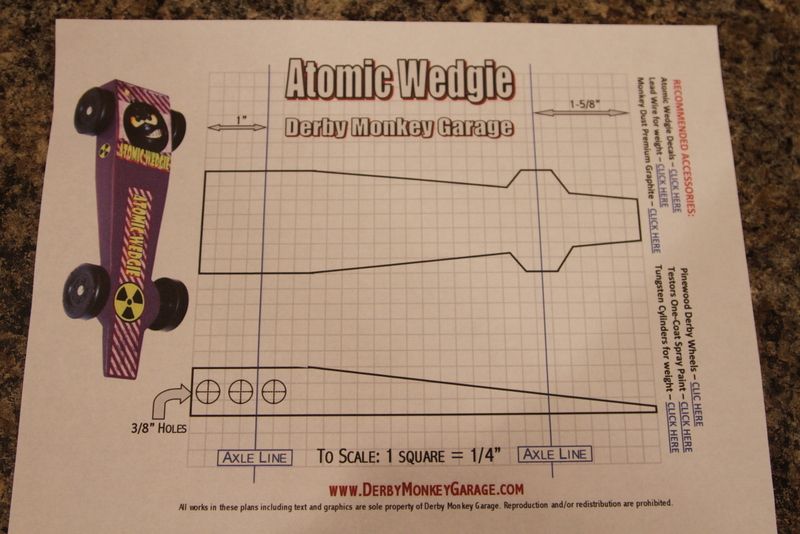
This year the Boy chose the "Eleminator" design. He and his Dad cut out the template and traced it onto the block of wood.
The Mr. made the cuts with his jigsaw (of course…safety first!) Then the Boy sanded it nice and smooth.
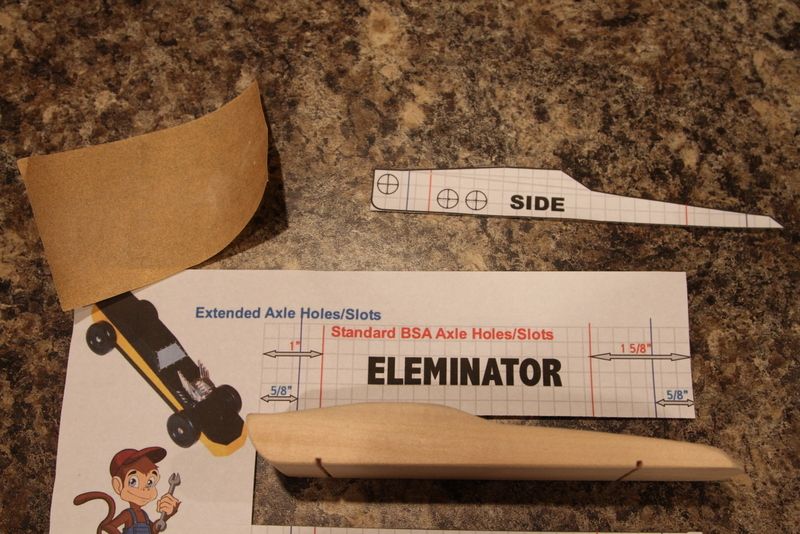
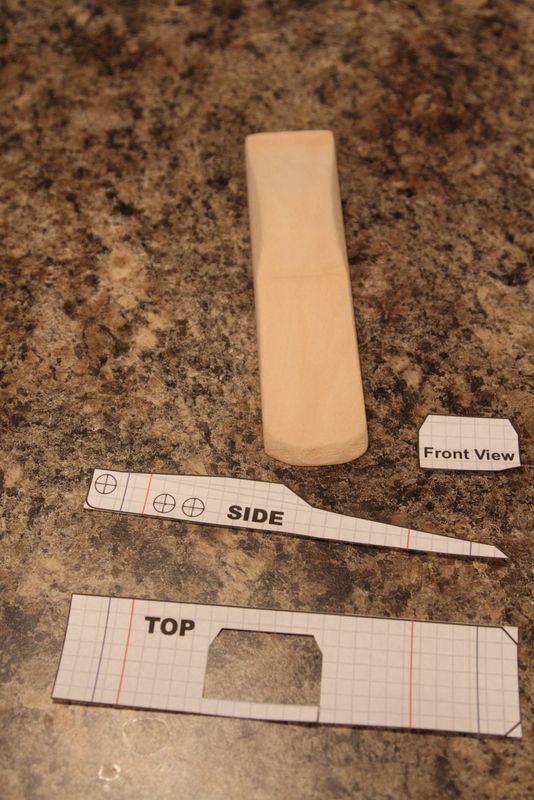

As you can see on the template above it tells you right where to drill the holes for your weights.
The Boy wanted to add a few more to get as close to the 5.0 oz. weight limit as possible for maximum speed, careful not to drill through the other side of the car.
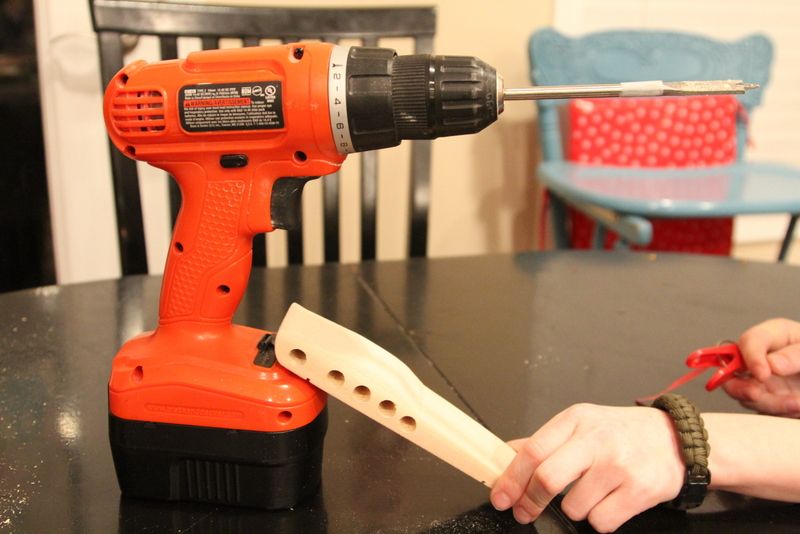
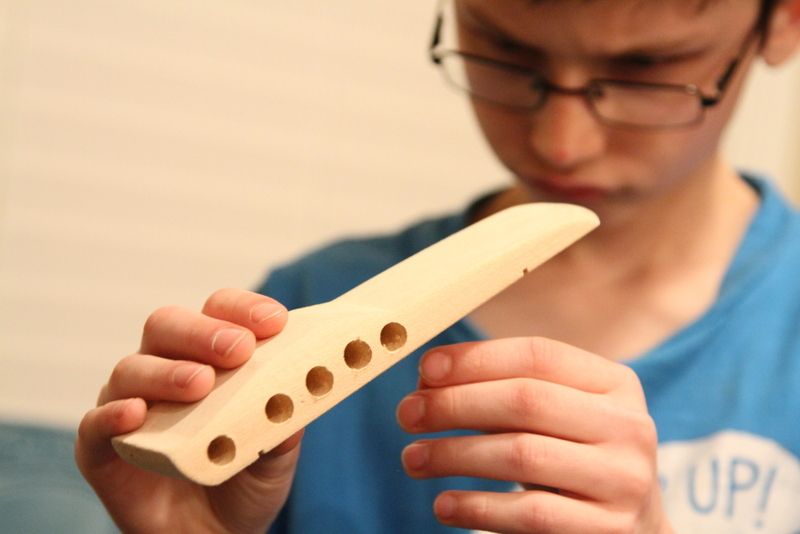
The Mr. and the Boy then melt down fishing lures and pour the metal into the holes to create the weight.
Simply place the lures into a tin can then use a torch to heat the bottom of the can until the lures are all melted and liquid then pour into the holes in the wood.
Once hardened it can then be sanded smooth and once the paint is on, you can't even tell where the holes and weight were added.
The majority of your weight you want in the rear of your car. And just enough in the front of your car to keep the wheels down and pulling the car down the track.
Now if you don't want to mess with the dangers of lead weights, you can find these round weights at any craft or hobby store that sells Pinewood Derby supplies.
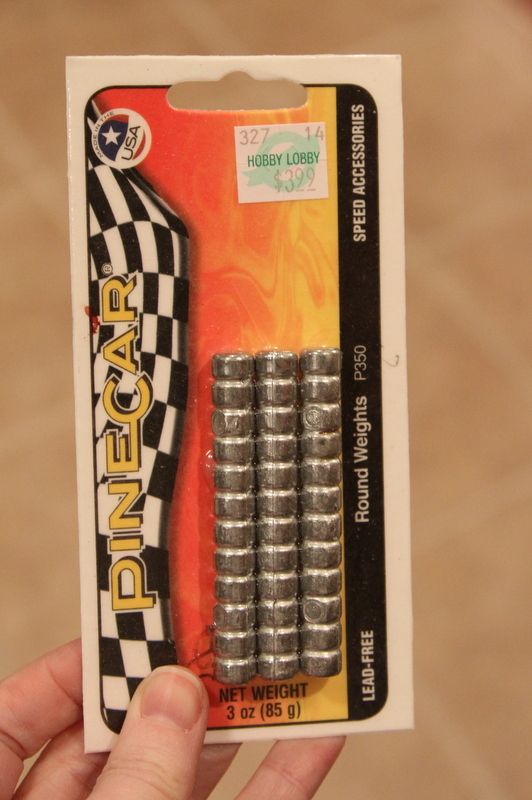
You just break off the desired amount with pliers, add to the holes, then fill with wood putty and once dried, sand down smooth.
The only downside of this is you'll have to use more than you would with melting the lead lures to get as close to that 5 oz. and the car is only so big, meaning you may need to add weights to the outside of the car making it less appealing to the eye and final design.
Now for a final touch use model car paint, not craft paint.
It has a glossy finish already added instead of the flat finish of acrylic craft paints.
And for a super professional look boys…
Sand, paint, dry…
sand, paint, dry…
sand, paint, dry!

And you'll win 'Judge's Favorite' too.
Now for the tires… SAND!
Sand the nails, sand the tire edges.
The less friction, the faster your car will go.
Nail in the tires, making sure they are balanced and that the nail is even in width from the base of the car to the wheel.
Next add as much graphite as you can.
Roll the tires around.
Add more graphite.
Roll the tires…
Add graphite.
Add graphite…
ADD GRAPHITE!
(which is the black smudges you see all over his beautiful green paint job… it's ok though, just wipe it off with a damp paper towel after your races so his car looks nice and shiny for display in his room)
Now you have all of the Mr.'s and the Boy's Pinewood Derby secrets.
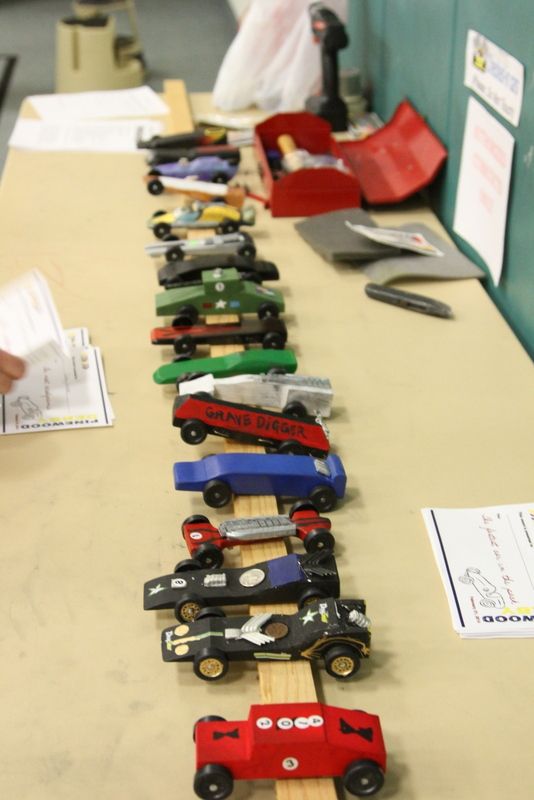
Win or lose, this has been such a fun bonding experience for the Mr. and his boy.
Fun experiences and knowledge that he now can pass down to his boy.
That's what this experience is supposed to be about.
Not about Dad making a fast and fancy car to win every race, but about a Dad teaching his boy how to build a car. Teaching him how to plan, design and properly and safely use the tools he needs. Showing him the pride and patience in taking his time sanding and painting and how it will show in his final finished product. Teaching his boy the mechanics and science that go into a car driving straight, smooth and fast and why it's important and how to achieve it in his car. And most important is letting your boy make the design and planning decisions. Your job Dad (or Mom) is to help teach him how HE can best execute HIS ideas.
If your boy doesn't walk away from his pinewood derby with these experiences and knowledge than you have completely missed the purpose of these races.
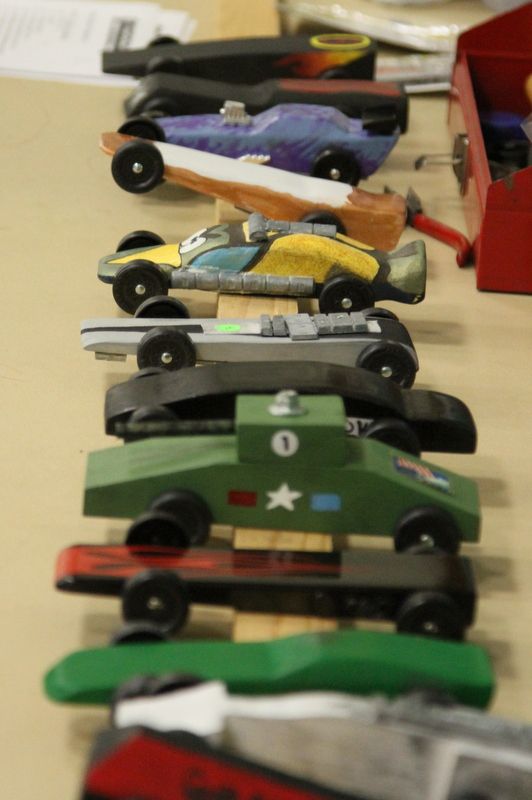
Enjoy your races!!
And most of all enjoy this project with your sweet boy!
And HAPPY CREATING EVERYONE!!

No comments:
Post a Comment